Branding
Set your company’s visual identity for all verification experiences.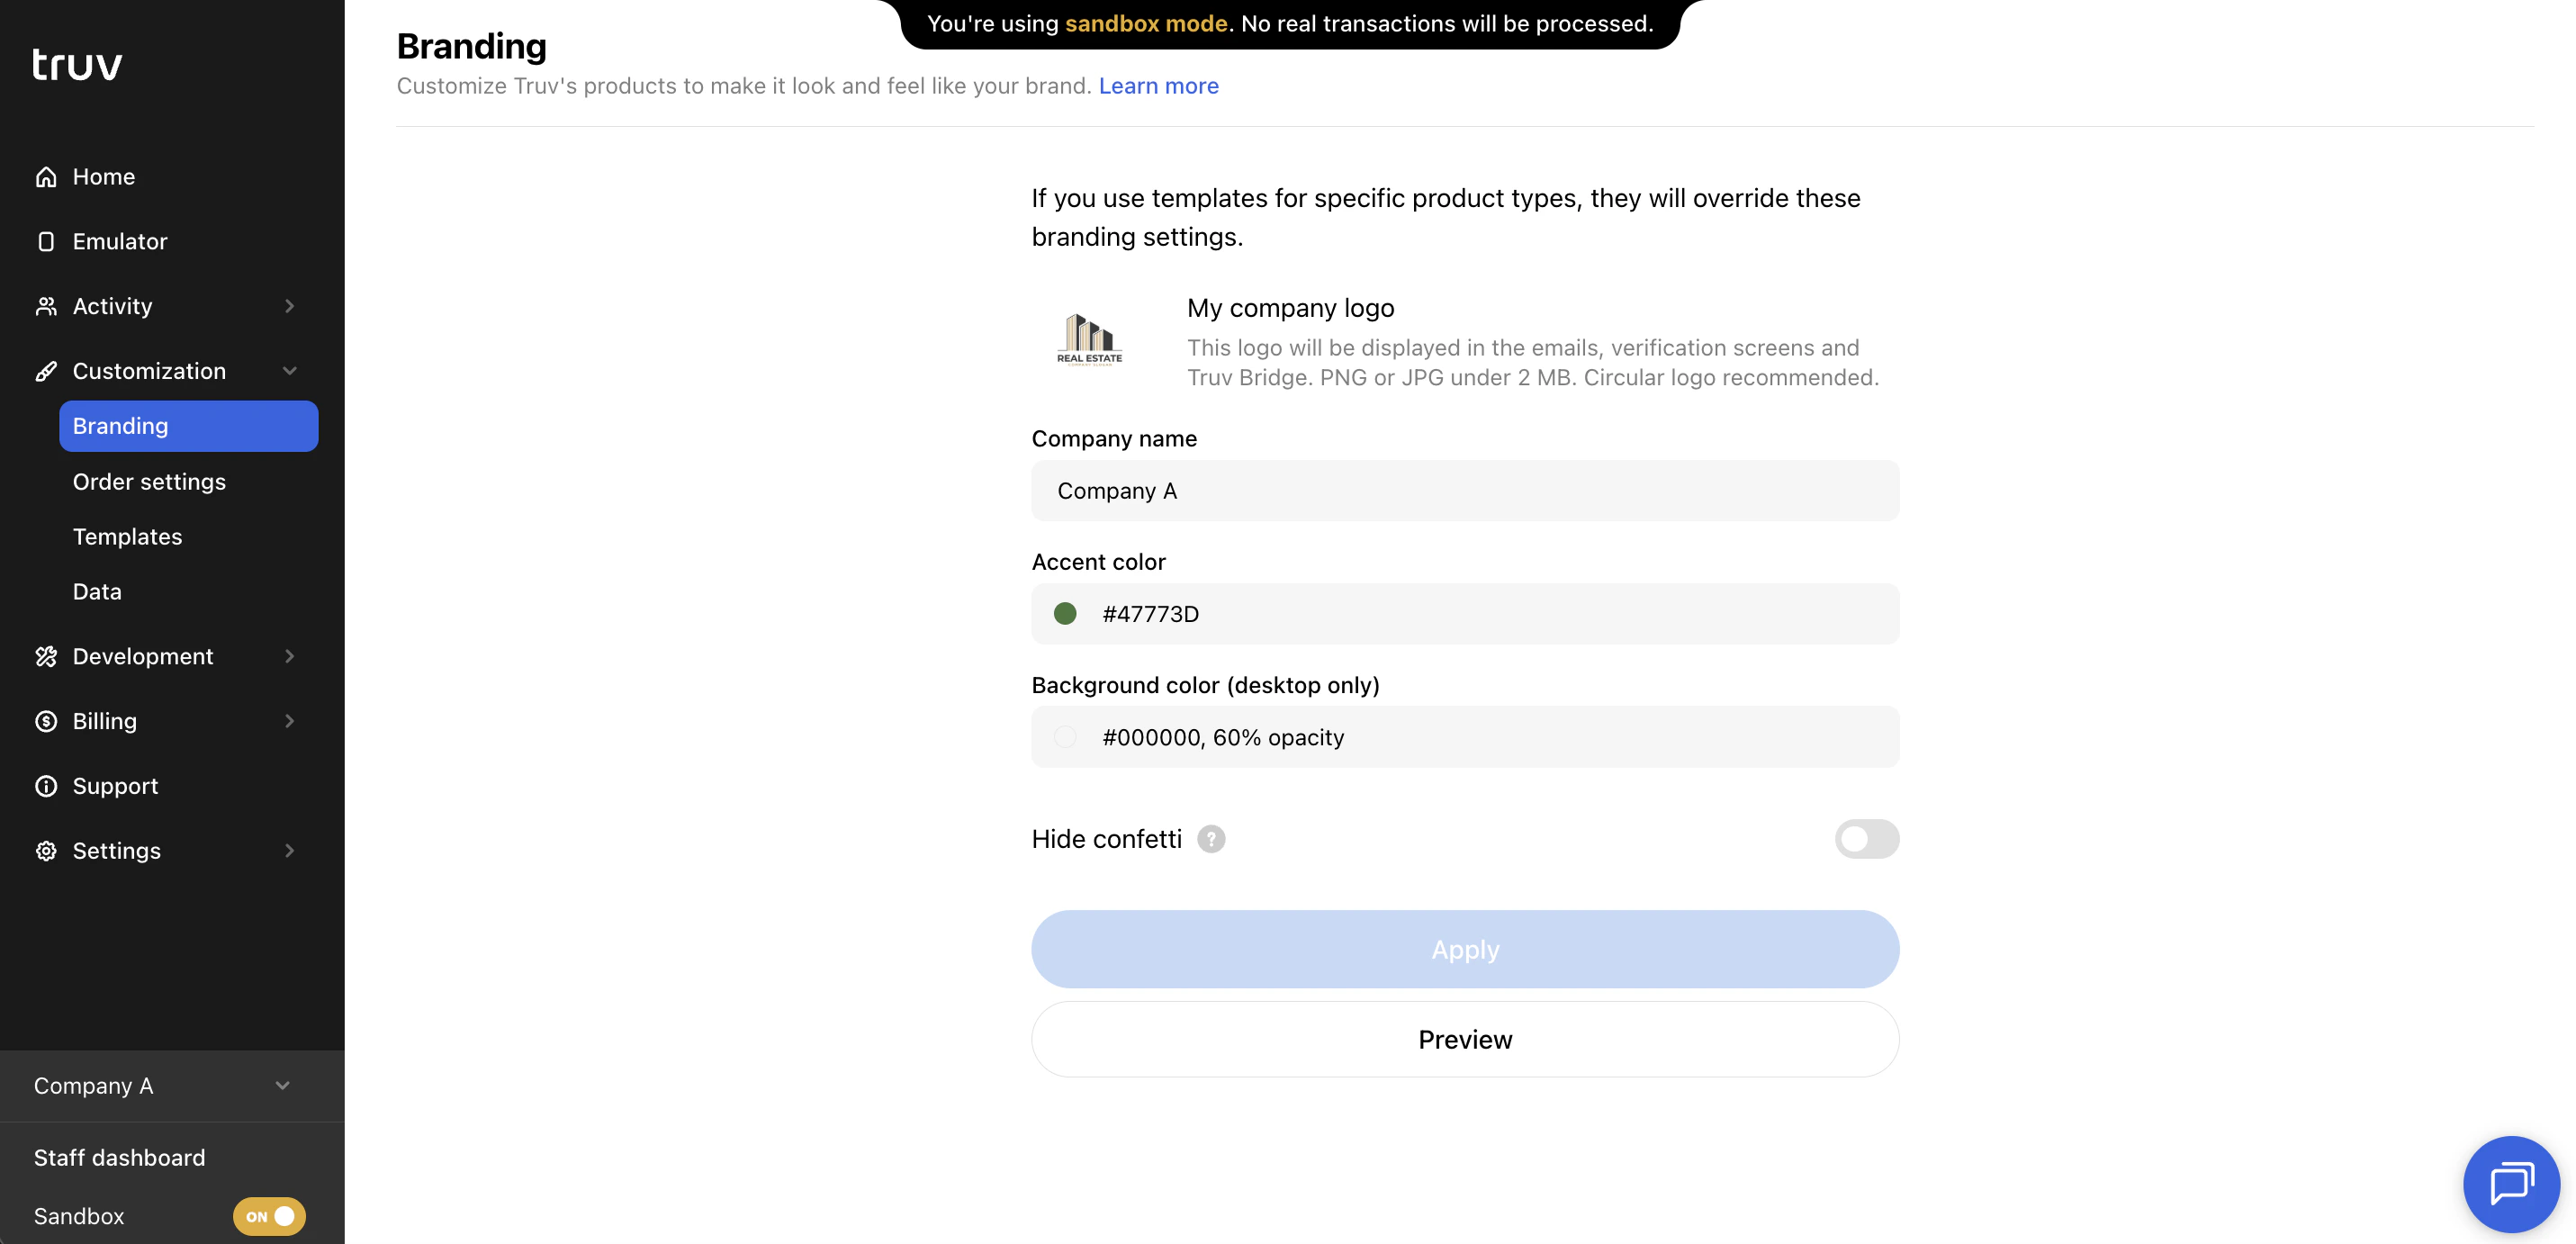
Click Preview to see your branding in the Emulator before saving, or Apply to save changes.
Order Settings
Configure account-wide defaults applied to all orders unless overridden at the template level.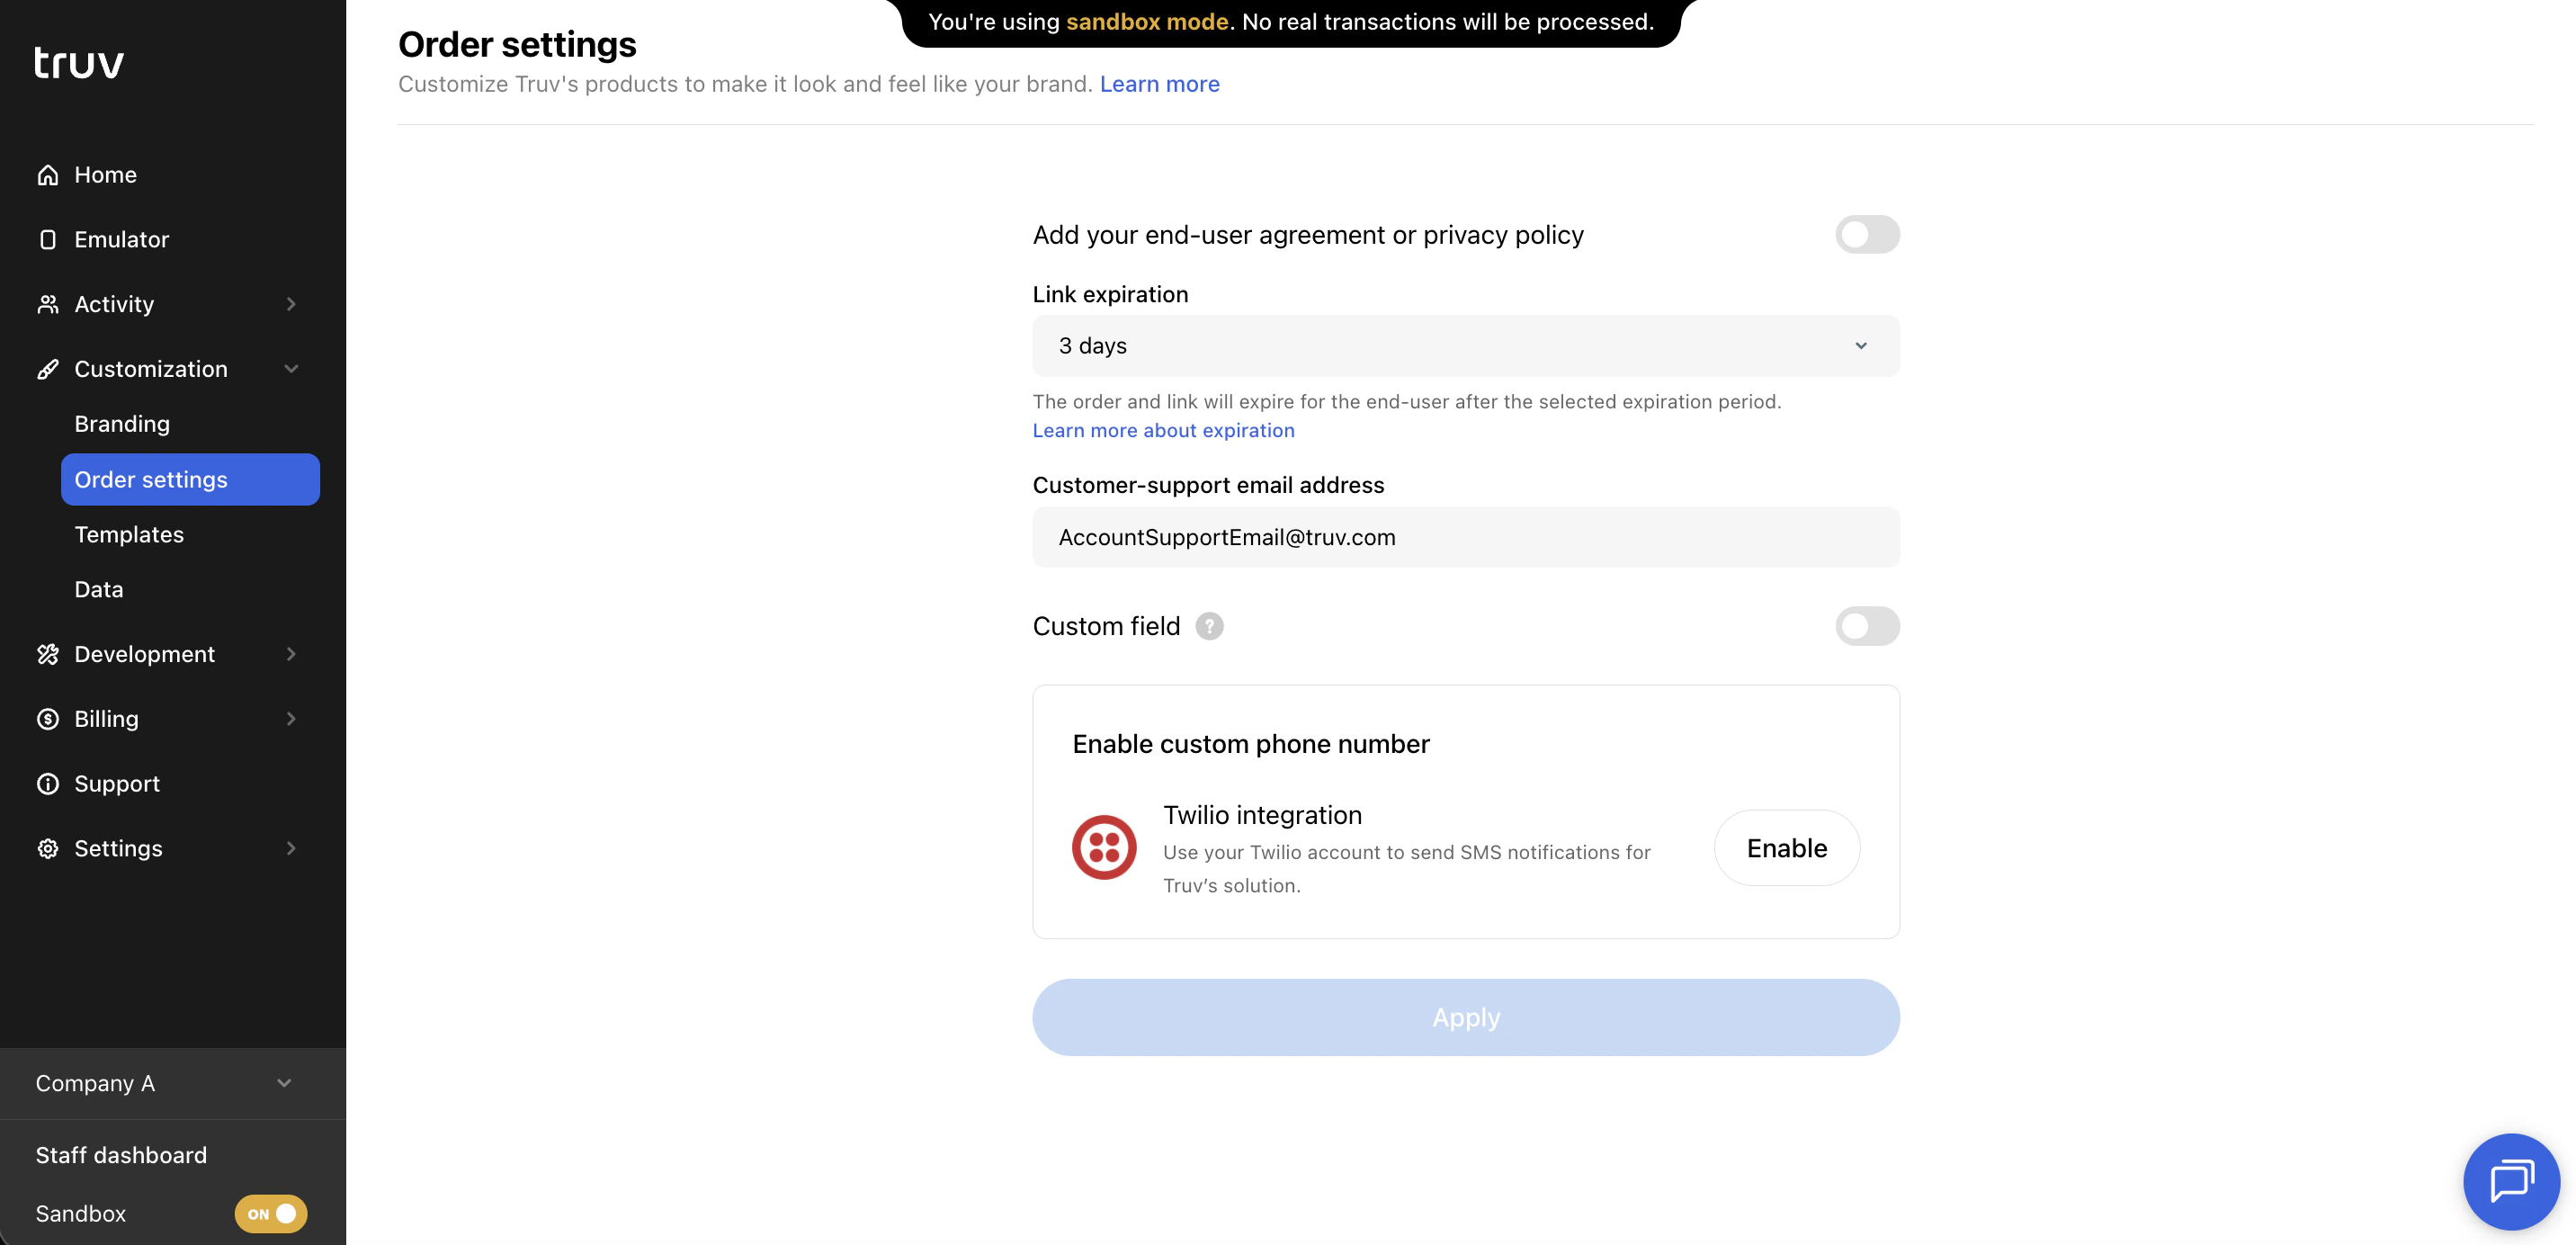
Templates
Create and manage templates to apply distinct customizations to individual workflows or clients.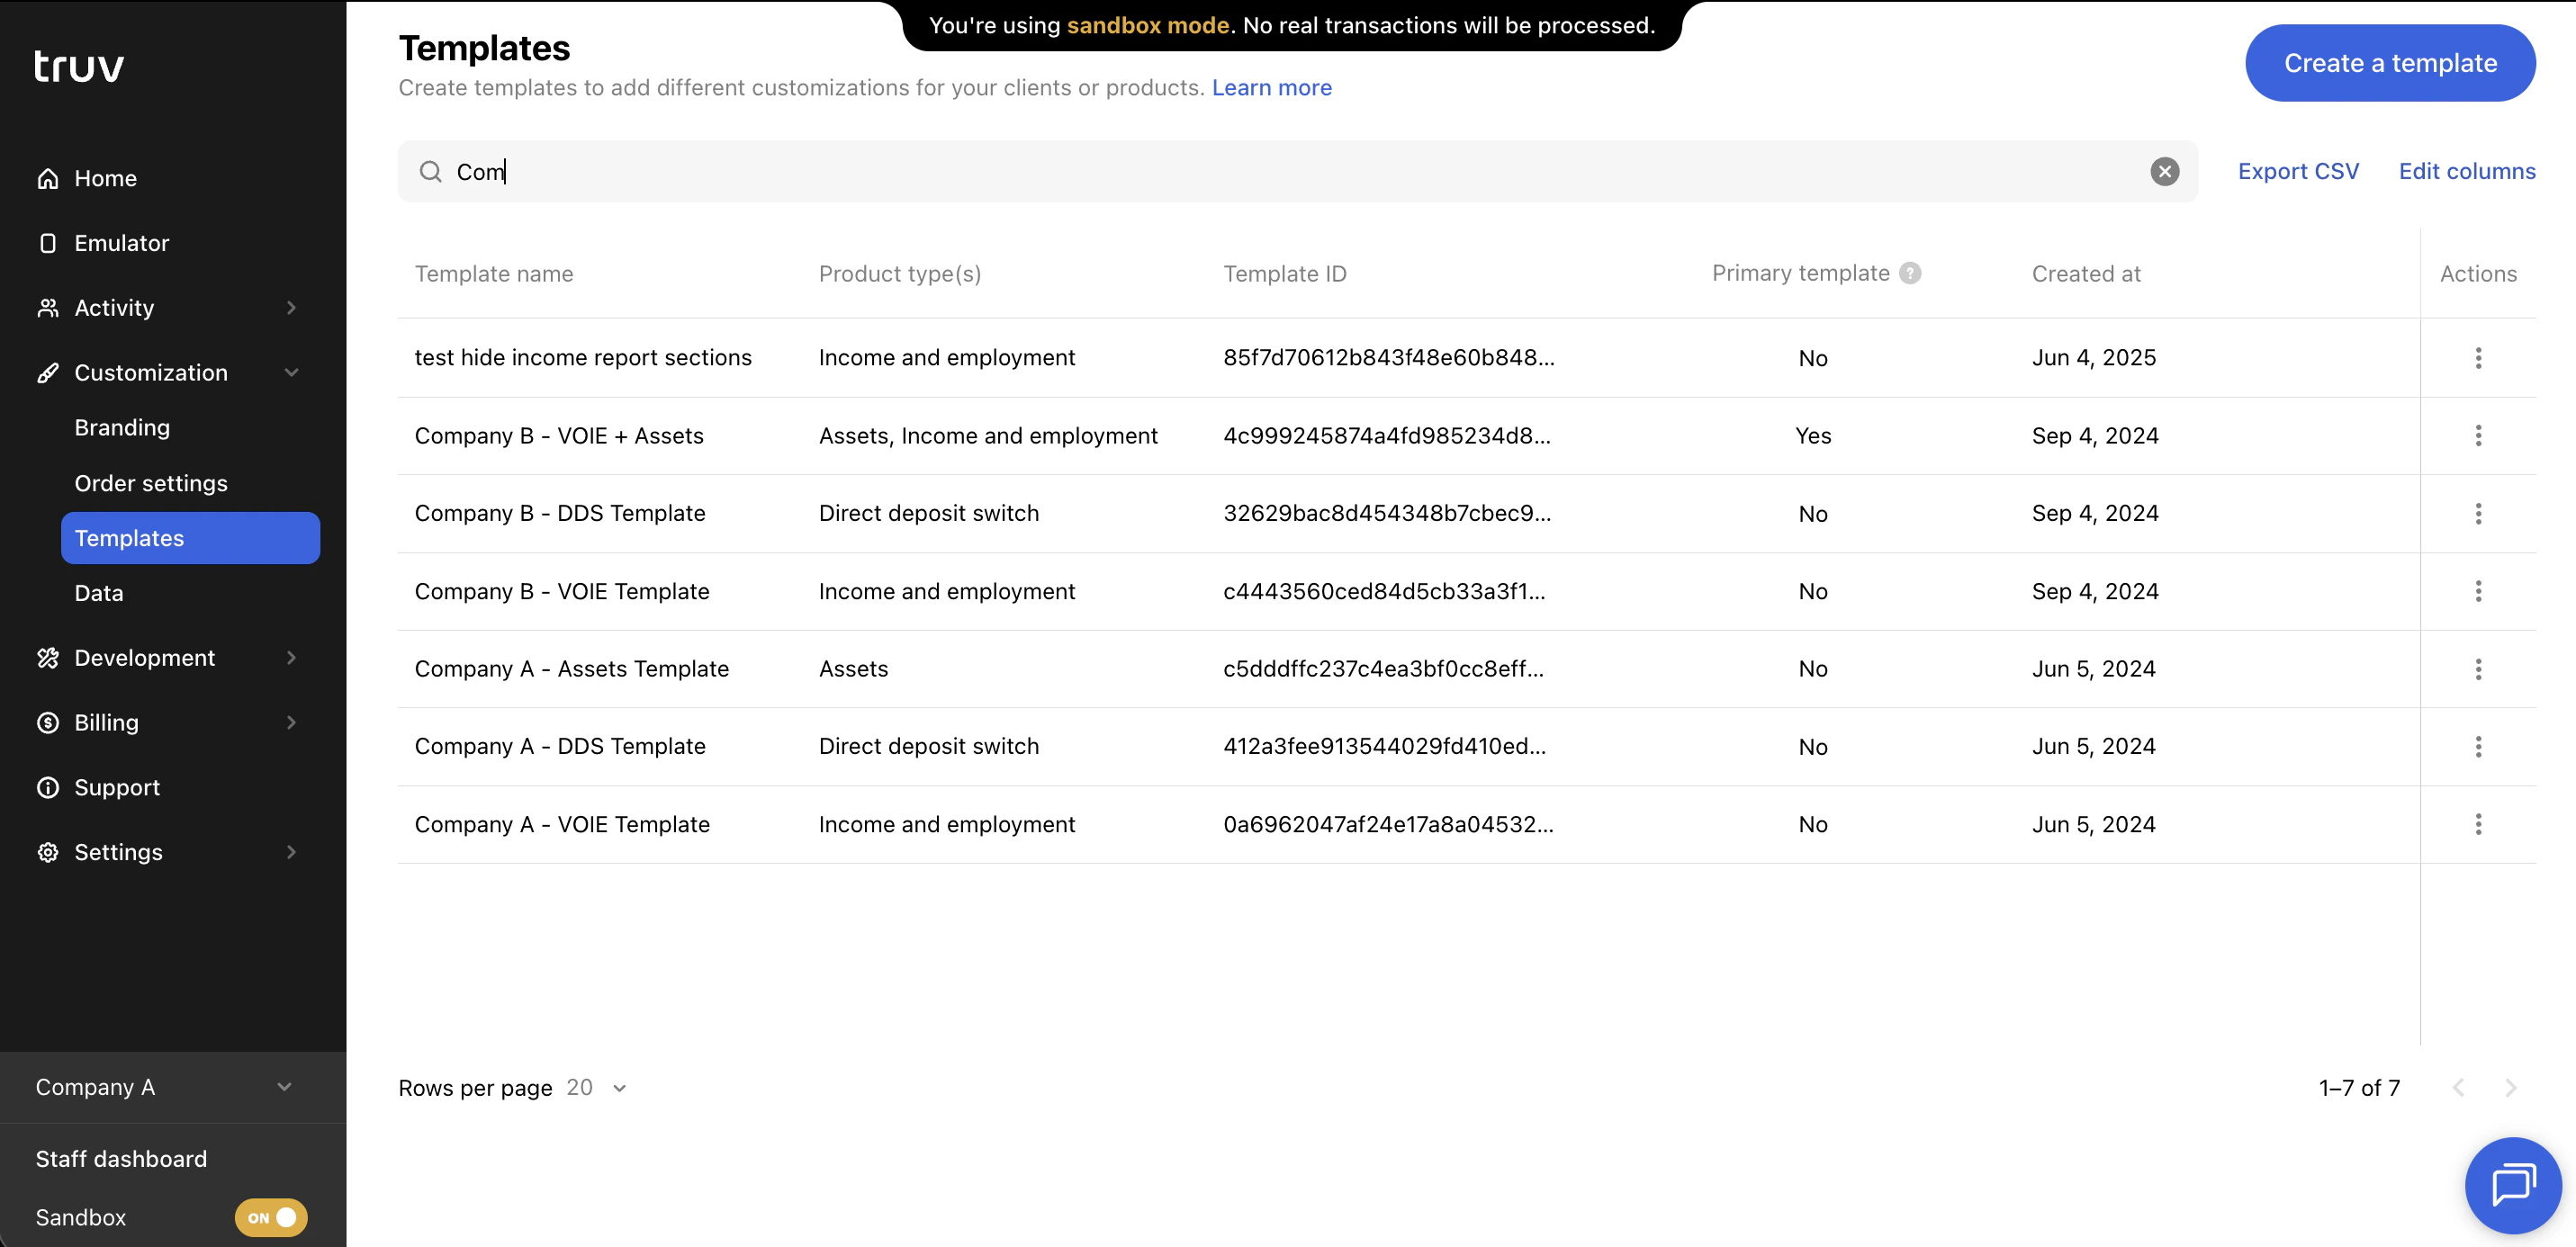
Data
Control which fields are included in API responses for each product type.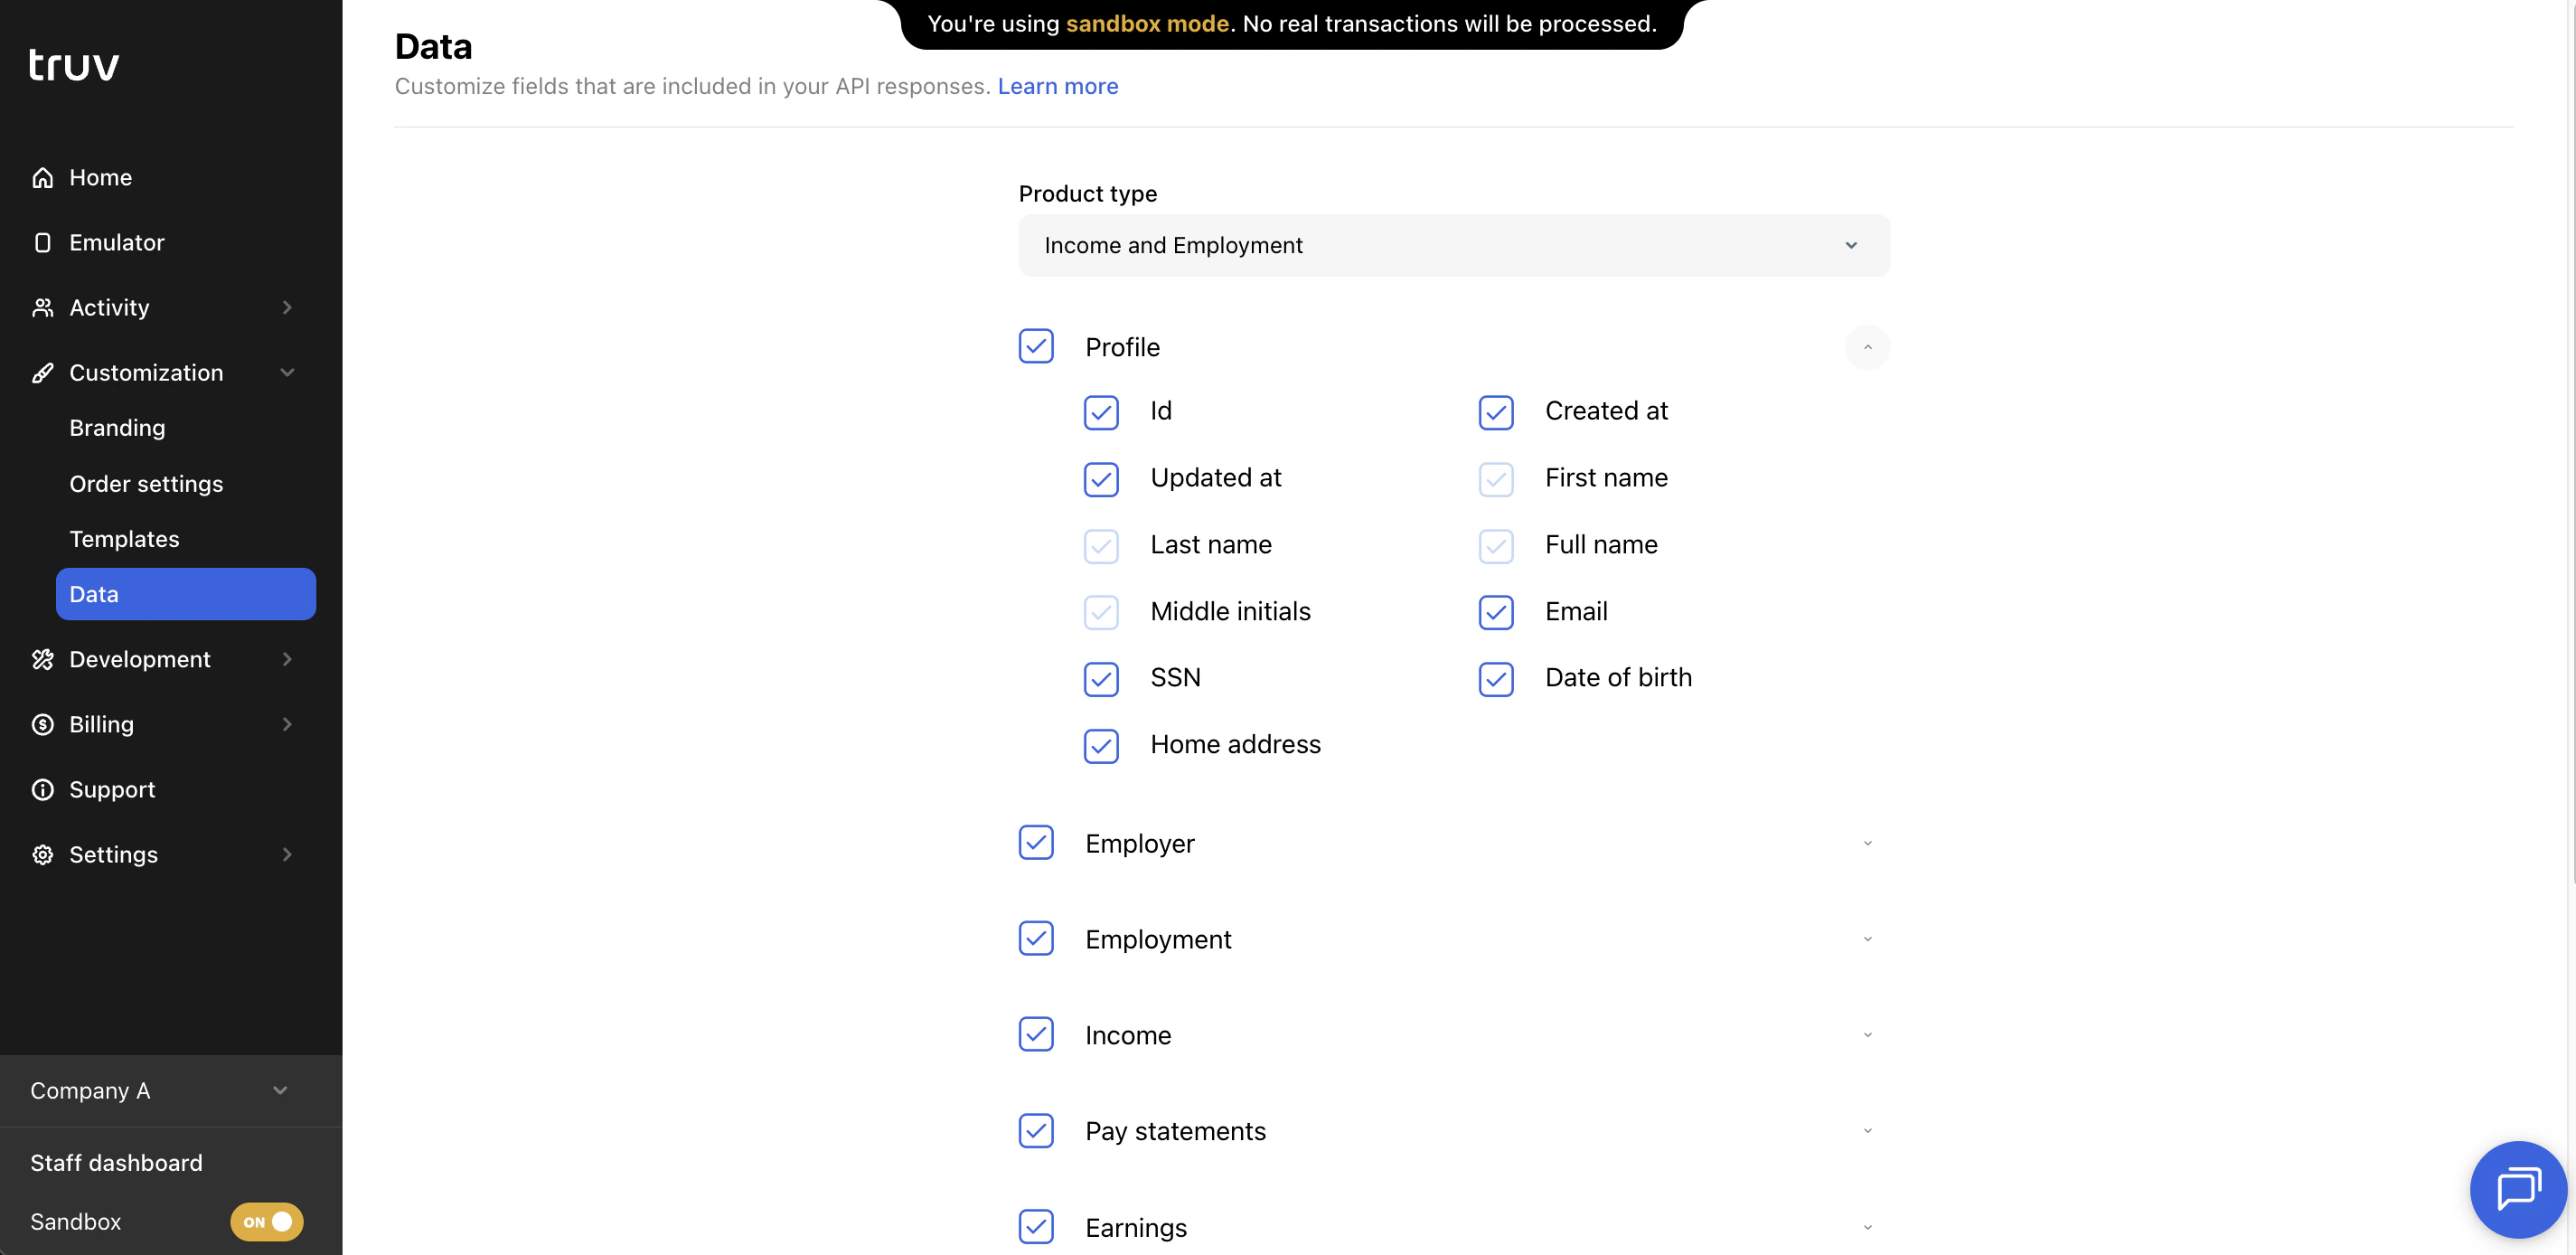
Next steps
Templates guide
Full template configuration reference
UX Customization
Full configuration reference for templates