Orders
Users connect their account information using Orders, personalized landing pages with Truv.
Overview
With Truv, an Order is a custom landing page for your users. Users connect their accounts to their providers when they use Orders. Send personalized invitations to your users through email or phone. Orders are a simple process for contacting your users for next steps.
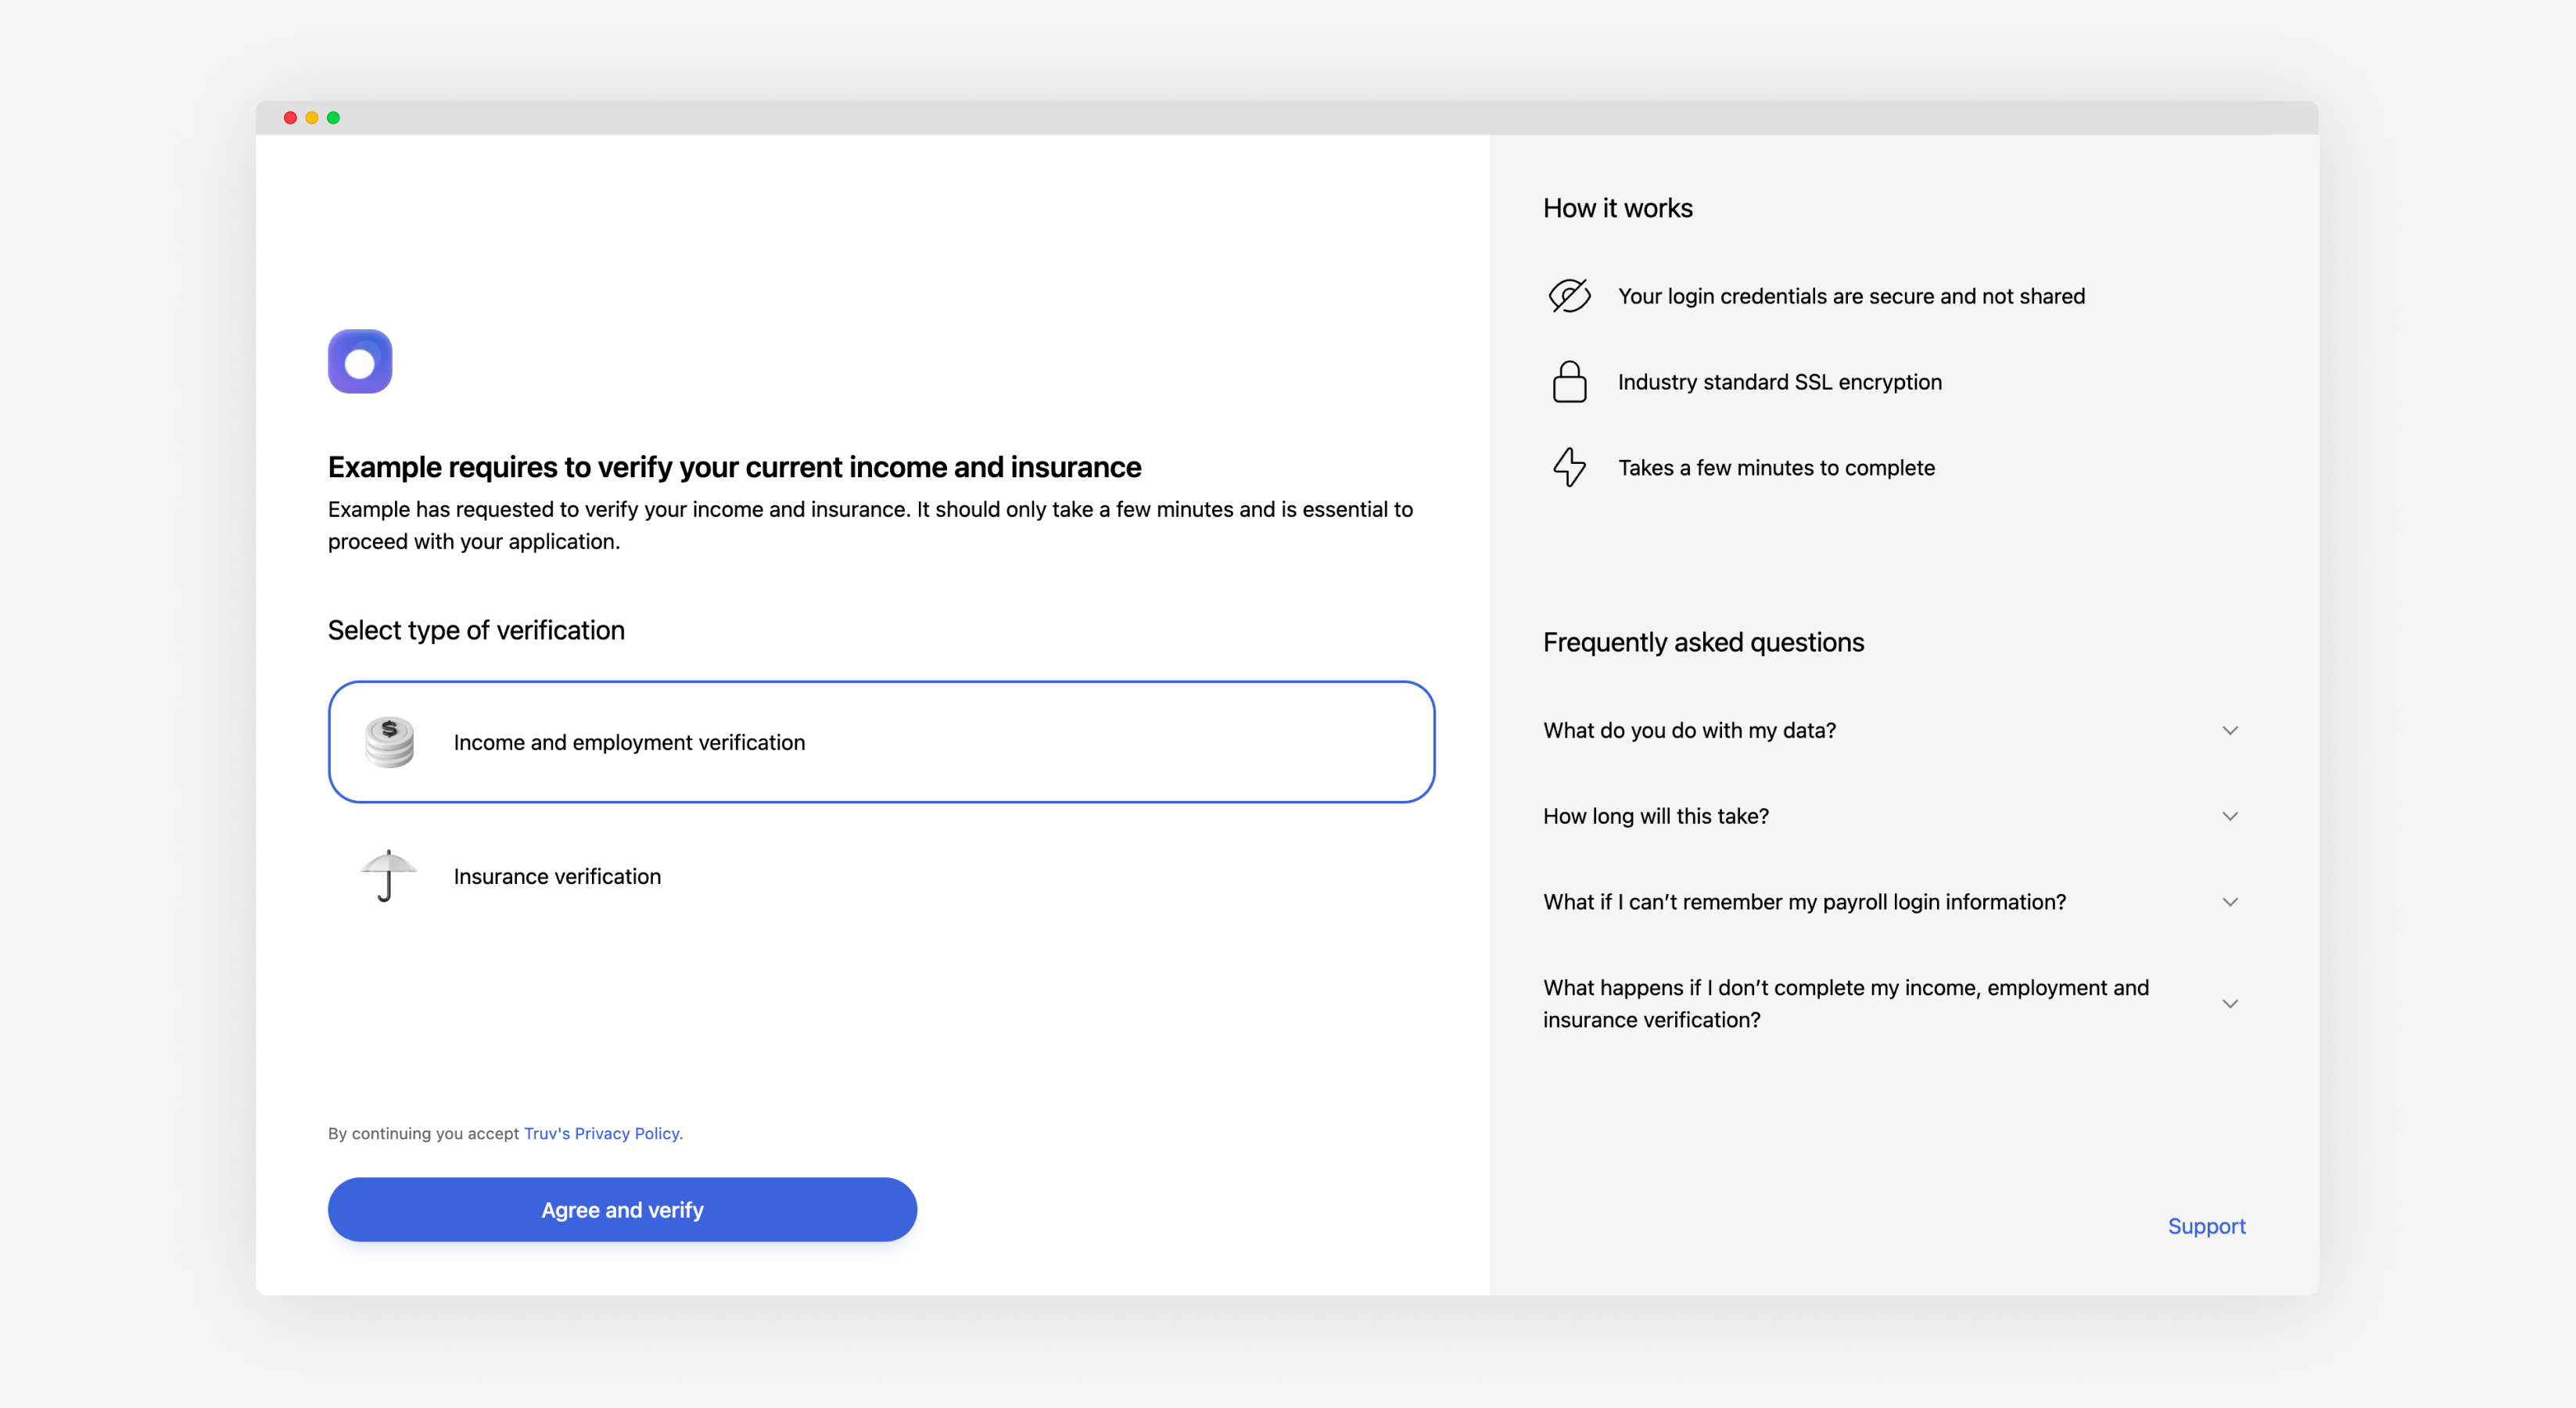
Orders provide an interactive solution using our interface and UX tools. They let you contact your users and prompt them to complete their provider details.
Creating an Order
Create Orders using the Truv Dashboard, the API, or both. Each section below covers these ways to create Orders for your users.
Using your dashboard
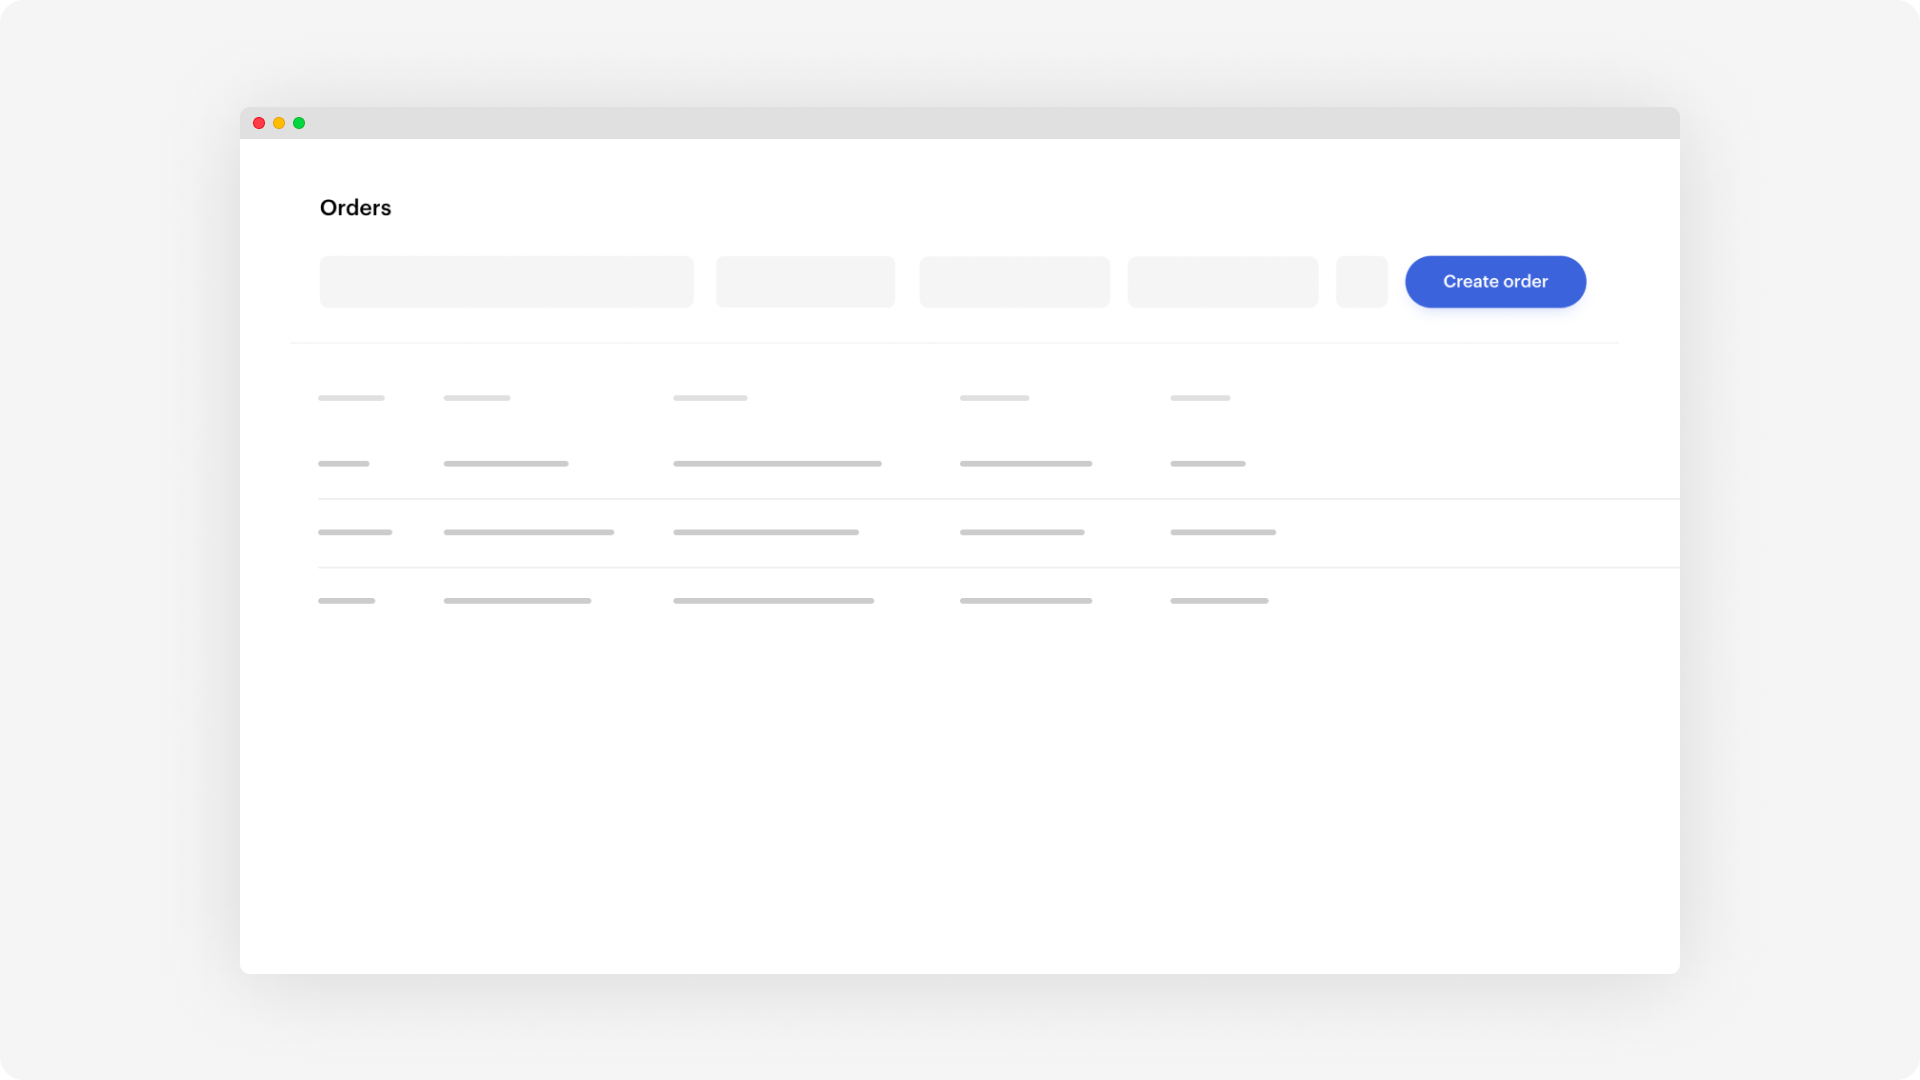
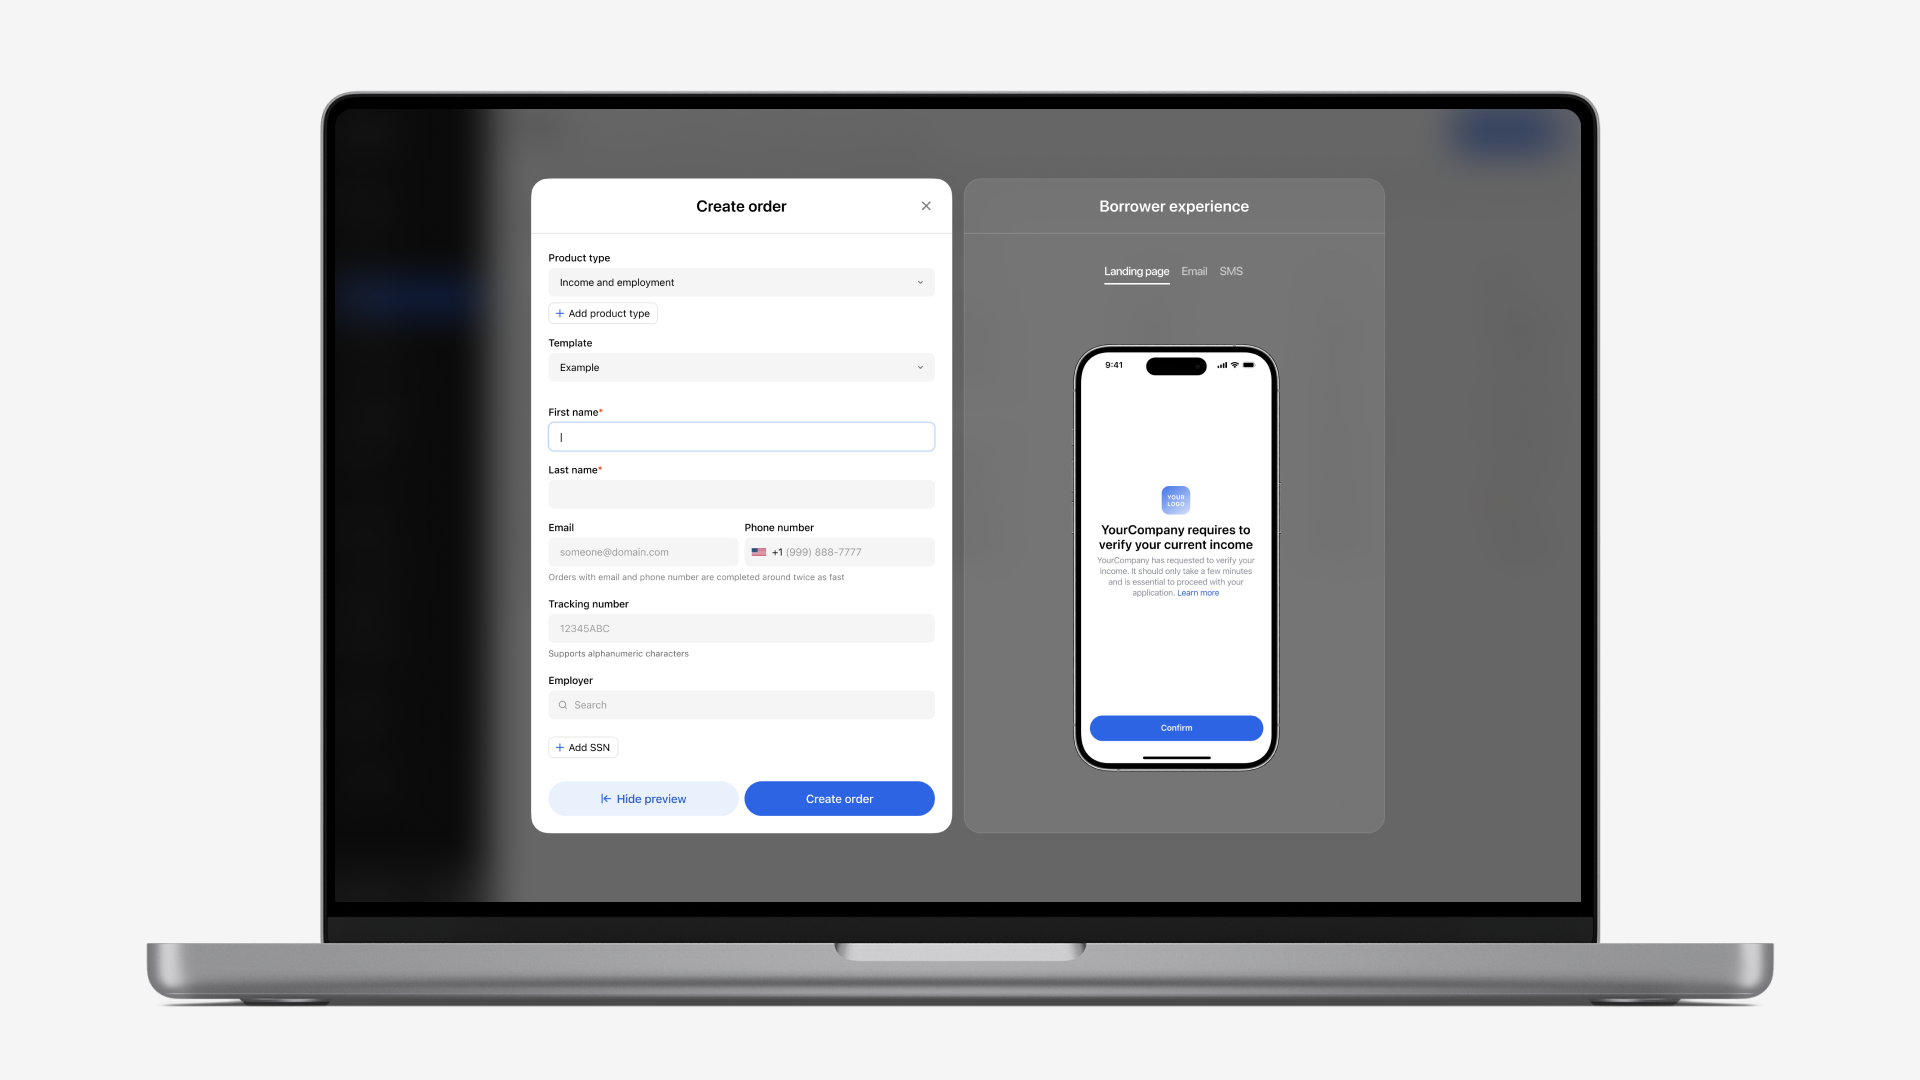
In the Orders section of your dashboard, click on Create order to get started. Select one of the products and fill in the user’s information in the fields. Only first and last name inputs are mandatory.
With Truv, decide to send a notification or generate a unique link. Send an email or SMS with that link directly to your users.
TipOver 75% of users complete Order requests within the first five hours. Include phone numbers in Orders to improve responsiveness and conversion through outreach.
Using the API
The Orders API reference page contains all the endpoints for managing the personal landing pages. Navigate your users experience with the data from pending or completed Orders.
Integration Process
- Create an Order
- Call
/orders/to create a new order with the following parameters:- Required fields
products: Insert the product(s) desired. For income specify["income"], and add additional products to the list, if any.first_name&last_name: Enter the first and last name of the applicant- For Direct Deposit Switch (DDS) - the fields are located under the
accountobject inside theemployersobject:account_number&routing_number: Enter the account information where the income data should be directed to.bank_name: Enter the bank name of the corresponding bank.
- Optional fields
SSN: Enter the last 4 digits or all 9 digits of the Social Security Number if you'd like Truv to check if the SSN matches that from the payroll system.email&phone: Enter either email and/or mobile phone number for Truv to send the Truv notification to the applicant. If you leave this section blank, you would need to retrieve the Truv verification link from the JSON response under"share_url".NoteTruv will not be able to send any notifications if both email and phone number are left blank.
employers: Enter the company_name if the applicant's employment information is known. This will ensure that only the requested employments are verified. If left blank, the applicant would need to select the employer(s) manually.
- Required fields
- Call
- Retrieve an Order
-
- Call the Retrieve an order endpoint to fetch the details of an existing order. This ensures access to the latest order information.
-
- Refresh Order Data
-
- To request updated information for an existing order, use the Create a data refresh order endpoint. This allows the order data to be refreshed and kept up-to-date.
-
Webhooks
Listen for the order-status-updated webhook, which provides the status of the Truv Order and indicates when the data is ready to be retrieved once the status is set to completed. The data_source will specify the income source of the Order. Use the order_id,user_id and link_id to trigger the corresponding income information retrieval. More info here.
Webhook Setup Subscribe to Truv webhooks by navigating to the Webhooks section of the dashboard and entering the URL endpoint for receiving updates.
Upload Orders using your dashboard
In the Orders section of your dashboard, click on Upload order to get started. Select one of the products from the Product Type list and associated Templates if applicable.
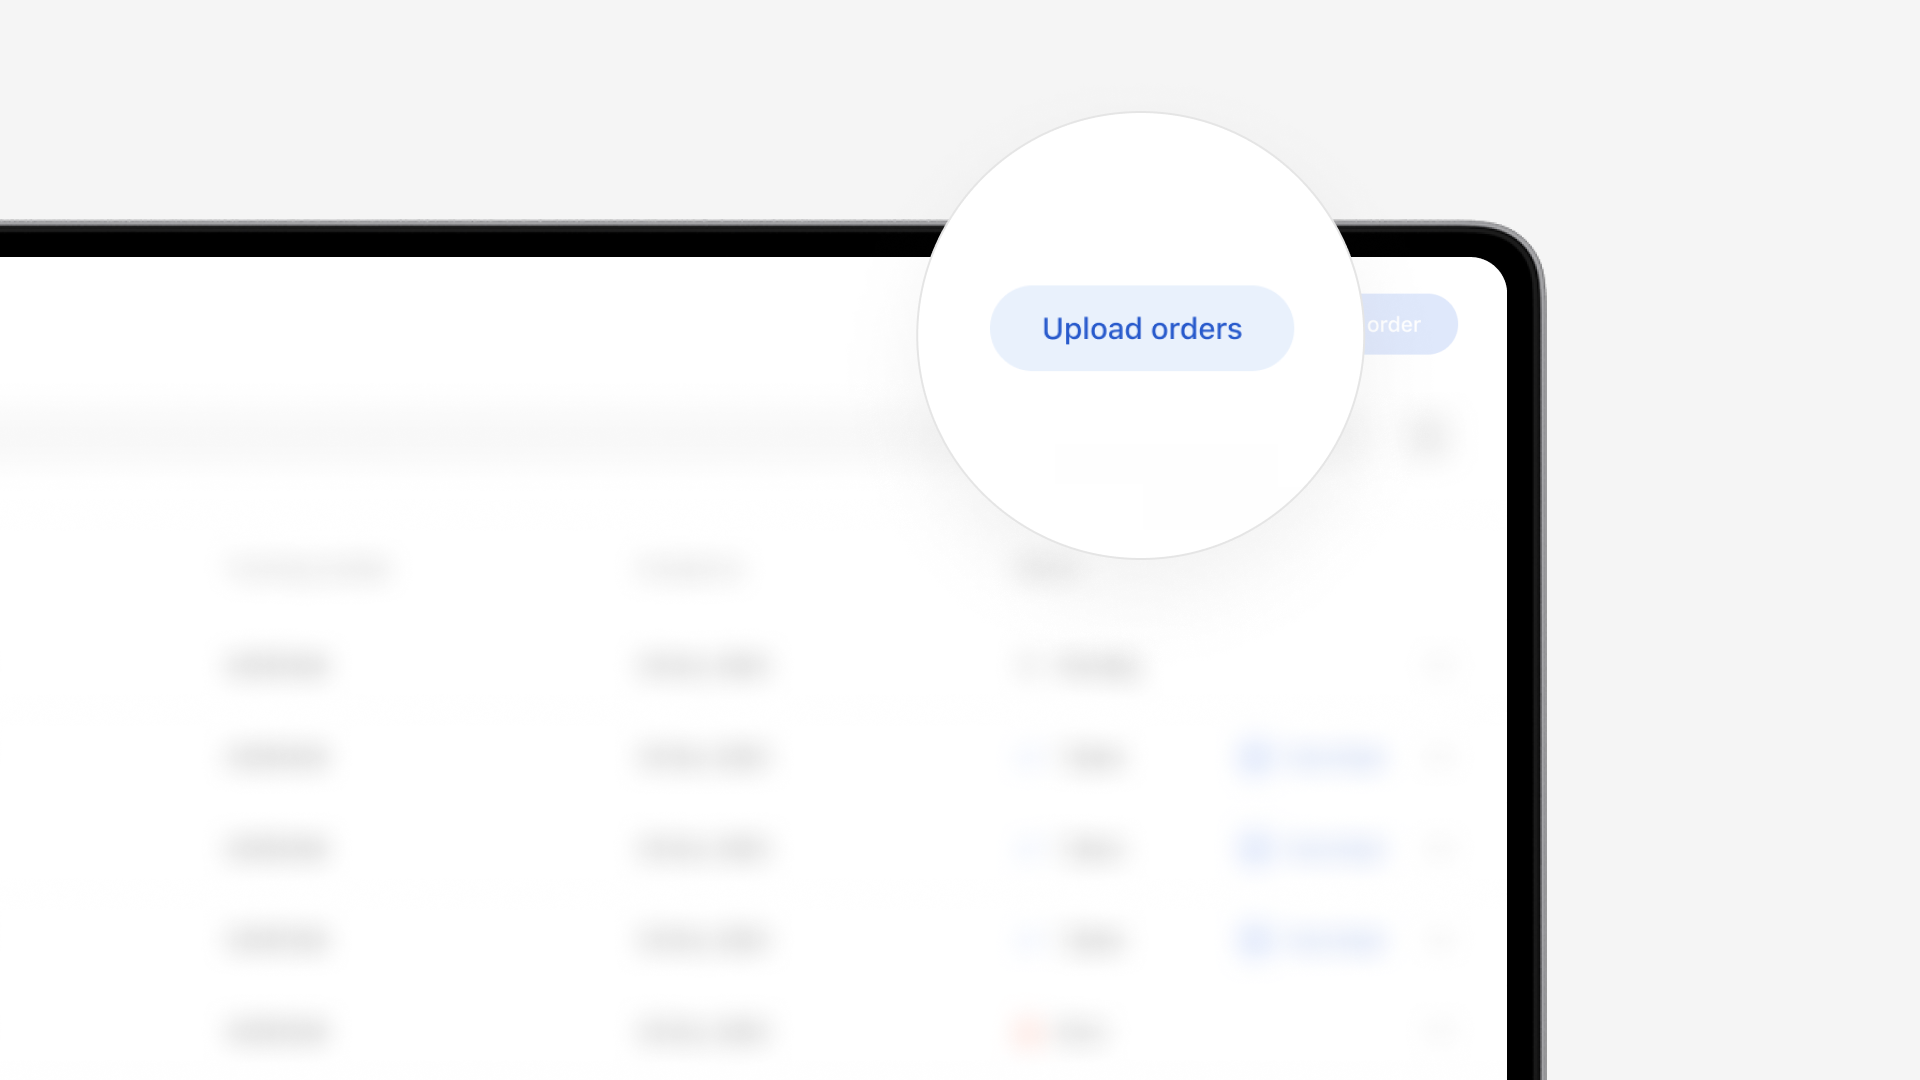
Download sample CSV provided and fill it out with all of the order details. When you are ready, drag and drop the file in your dashboard or click the Choose File button and select the CSV with the borrowers details to continue with order creation.
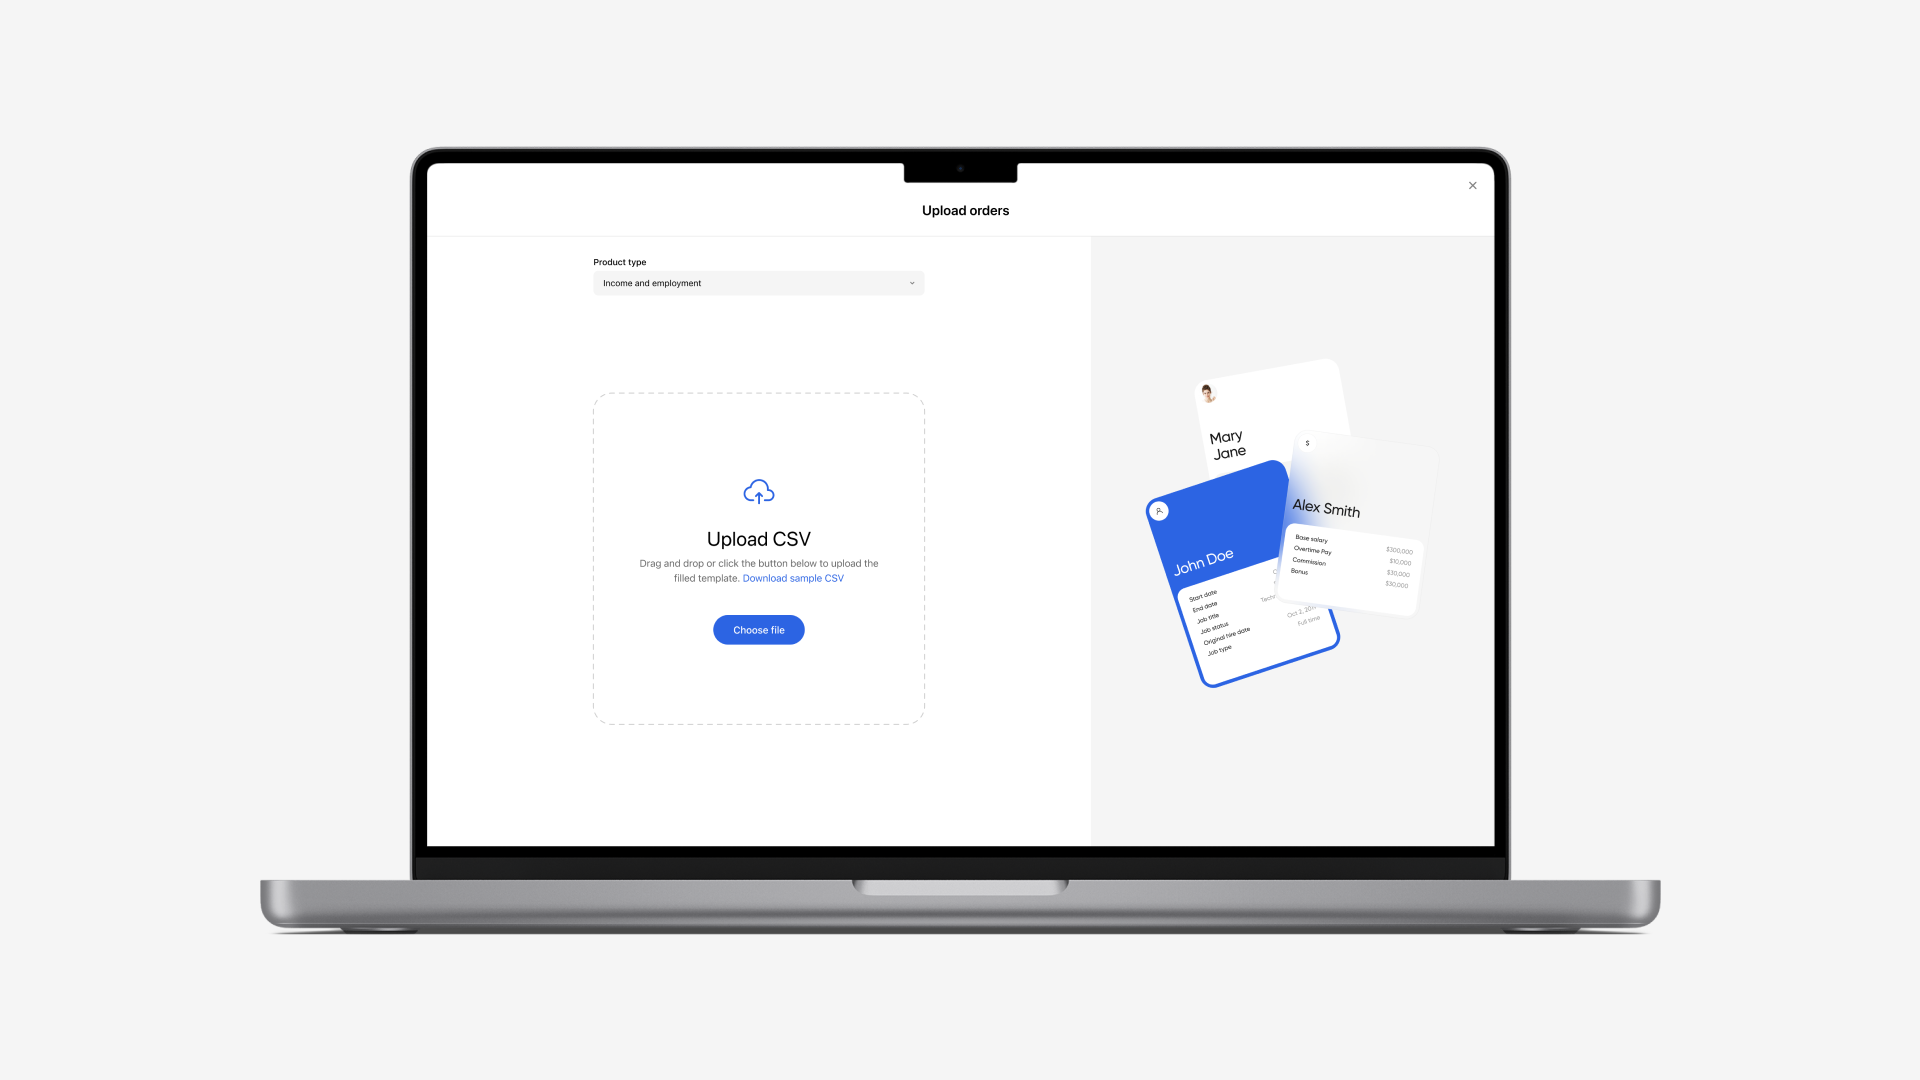
NoteAudit your CSV file to ensure all the borrower details are accurately filled out. Truv recommends to add borrower email and sms so that orders are successfully created on submission.
The flow prompts with any errors if mandatory fields are empty. Ensure that all mandatory fields are filled out accurately before uploading the file to reduce errors.
Managing Orders
In your dashboard, view and manage your Orders under the Usage section.
Orders table
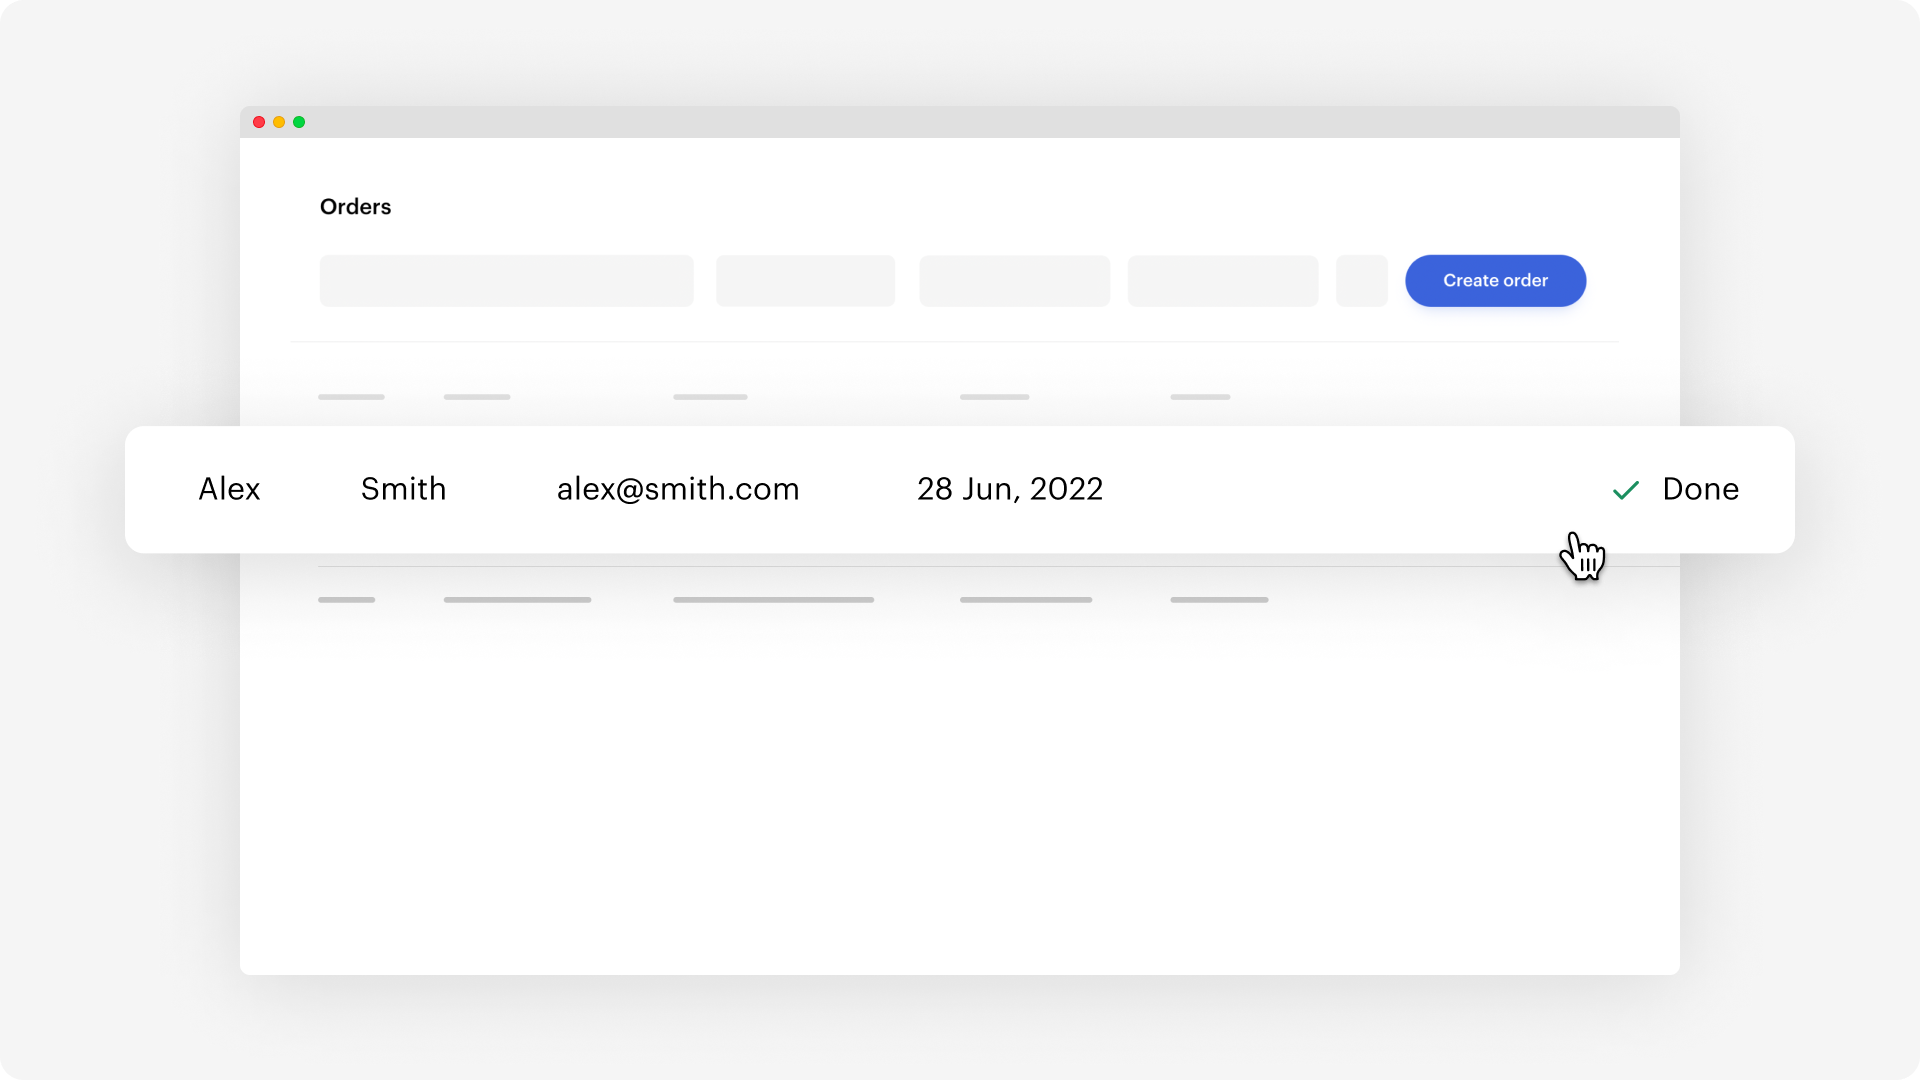
On the Orders tab in your dashboard, you can view key details and statuses across Orders. To see full order details, Timeline, Report and downloadable files, simply click the order row. If a user has specific templates assigned, the Orders table will be filtered to display only orders with those templates assigned.
- To narrow down the displayed orders, you can use any of the supported filter values including:
- Order created date (from and to)
- Order status (ex. Done, Pending, Expired, Canceled, etc)
- Product type (ex. Income and employment, Assets, etc)
- Order source (ex. Truv Dashboard, Encompass, SimpleNexus
- Created by (who created the order)
- Additionally, you can use the search bar to find a specific order based on any of the supported search fields below:
- Order ID
- Applicant's phone number
- Applicant's email
- Applicants name
- Applicant's employer or payroll provider
- Tracking number (order_number in create an order endpoint)
- Loan number
- Borrower Report ID
- VOA Report ID
- Custom field
- To customize the columns that are visible in the Table, click Edit columns and select which columns to include. This will only affect your account, allowing each user to customize the table to best support their workflow.
- To export the Orders table data, select the "From" and "To" timeframe for order data to include using the filter. Then click Export CSV on the top right of the table. CSV generation may take up to a few minutes if there are >10k rows.
Order status
All possible order statuses are listed below:
- pending - Truv is processing the applicant’s information
- sent - Order email or SMS is on its way to applicant
- completed - Applicant has completed request for action
- error - Notification issue
- canceled - Order is no longer requested
- expired - Order is past expiration date, no longer valid
- skipped - Applicant has exited Order before completing request for action
- no data - Provider has no data*
Note*View the Task Details for more information and additional explanation.
Customization
Personalize the text your users receive from emails and SMS messages. Customizations are available for your users’ landing pages. You can use the Customization templates in Truv dashboard or Create a customization template endpoint for additional options.
Notifications
Truv has Order links available within the dashboard or through the API for your own notification system as well.
TipUsing both email address and SMS messaging together improves Order success rates from opening to completion.
Expiration periods
Truv orders have a default expiration period of 72 hours, which can be customized via the 'Link expiration' field at the account and template level in the Truv Dashboard. Both 'Account settings' and 'Templates' can be found under Customization tab in Truv Dashboard. The following link expiration options are available: 1 day, 2 days, 3 days, 1 week, 2 weeks, 3 weeks, 4 weeks, 12 weeks.
Order expiration periods do not count weekends. So if an order is created on Friday with a 2 day expiration, it will expire on Tuesday (not Sunday).
Once an order has expired, Truv will no longer send reminders to the end-user and they will not be able to open the order link via email, direct URL, or any other methods.
Reminders
Once an order is created, the Truv notification system automatically sends initial and reminder email and/or SMS notifications to the end-user. If contact details for a notification method are not provided, a notification will not be sent. Additionally, SMS reminders need to be enabled at the account-level by Truv, reach out to Customer Support or [email protected] to enable.
When reminders are sent depends on the link expiration for the order. In general, we schedule 3 reminders spaced out evenly from when the order is created until it expires. For example, if an order expires in 3 days, we will send a reminder on day 1, 2 and 3. While order expiration does not count weekends, reminders are still sent on weekends. Once an order reaches a terminal status (ex. completed, canceled, expired, etc.), we will stop sending reminders.
See below for a breakdown of link expiration options and reminders:
| Link expiration | Order lifespan | Initial notification | 1st reminder | 2nd reminder | 3rd reminder |
|---|---|---|---|---|---|
| 1 day | 24 hours + weekends | 30 seconds | 6 hours | 16 hours | 22 hours |
| 2 days | 48 hours + weekends | 30 seconds | 6 hours | 24 hours | |
| 3 days | 72 hours + weekends | 30 seconds | 24 hours | 48 hours | 66 hours |
| 1 week | 168 hours + weekends | 30 seconds | 24 hours | 72 hours (3rd day) | 120 hours (5th day) |
| 2 weeks | 336 hours + weekends | 30 seconds | 96 hours (4th day) | 192 hours (8th day) | 288 hours (12th day) |
| 3 weeks | 504 hours + weekends | 30 seconds | 264 hours (11th day) | 384 hours (16th day) | 456 hours (19th day) |
| 4 weeks | 672 hours + weekends | 30 seconds | 312 hours (13th day) | 432 hours (18th day) | 624 hours (26th day) |
Note: SMS reminders are only sent if they fall between 10am - 6pm ET to avoid disturbing end-users
Orders for verifications
Orders are simple solutions to verify provider information from your users. These use a secure and straightforward user interface and you can customize the branding for a seamless integration. The integrations below apply to VOIE, VOE, and Insurance Verification. Learn more about these options using the guide below.
TazWorks and Accio Data platforms
TazWorks and Accio Data now integrate with Truv for our customers. Truv helps to submit employment history requests for CRAs and background screeners. Use Truv’s verification workflow directly with these integrations for complete employment history requests.
You can also submit Orders using the TazWorks and Accio Data platforms. On your dashboard, check and monitor all Orders from these integrations.
Encompass
With Encompass, you can submit income and employment requests through the Truv verification processes. Help loan officers and processors manage submissions from future and existing borrowers.
Truv’s Encompass integration lets customers retrieve, refresh, and store aggregate reports in the Encompass eFolder. Support your users throughout the mortgage loan origination process.
You can also find and submit Orders using Encompass as well as manage them in your dashboard.
Updated 5 months ago