
Floify
Leverage Truv's Verification of Income and Employment (VOI/E) solution within the Floify point-of-sale system to efficiently access and verify borrower employment and income information from authenticated accounts.
Overview
Truv's integration with Floify streamlines the verification process by allowing users to quickly access and authenticate employment and income details. This integration ensures that all borrower data is sourced from reliable accounts, enhancing the accuracy and speed of your decision-making.
Key Benefits
- Efficient Verification: Easily verify employment and income details
- Reliable Data: Obtain accurate information and necessary documentation from trusted sources.
- Accelerated Process: Speed up the verification process for faster, more informed decisions.
How it works
During the pre-application stage, borrowers or co-borrowers will be prompted to connect their payroll accounts and share their income and employment information through Truv.
- Borrower Connection: Borrowers link their payroll accounts using Truv.
- Report Generation: Once accounts are connected, Truv generates verification reports. These reports, along with relevant payroll documents (e.g., pay stubs, W-2s, employer reports), are available in the Loan Origination System (LOS), such as Encompass®, and are added to the eFolder.
- Ongoing Monitoring: Connected accounts are continuously monitored for new payroll documents, allowing for the generation of updated verification reports throughout the mortgage loan origination process.
Set up Guide
Company Dashboard
-
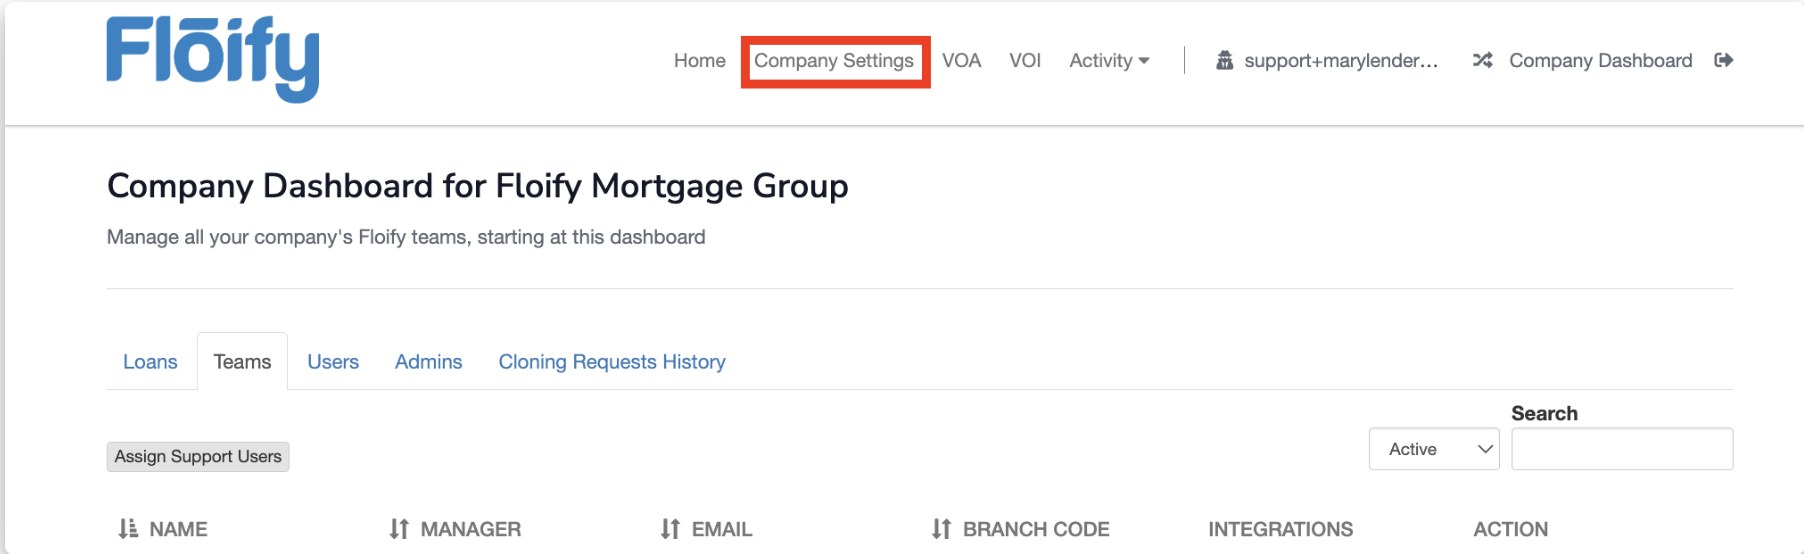
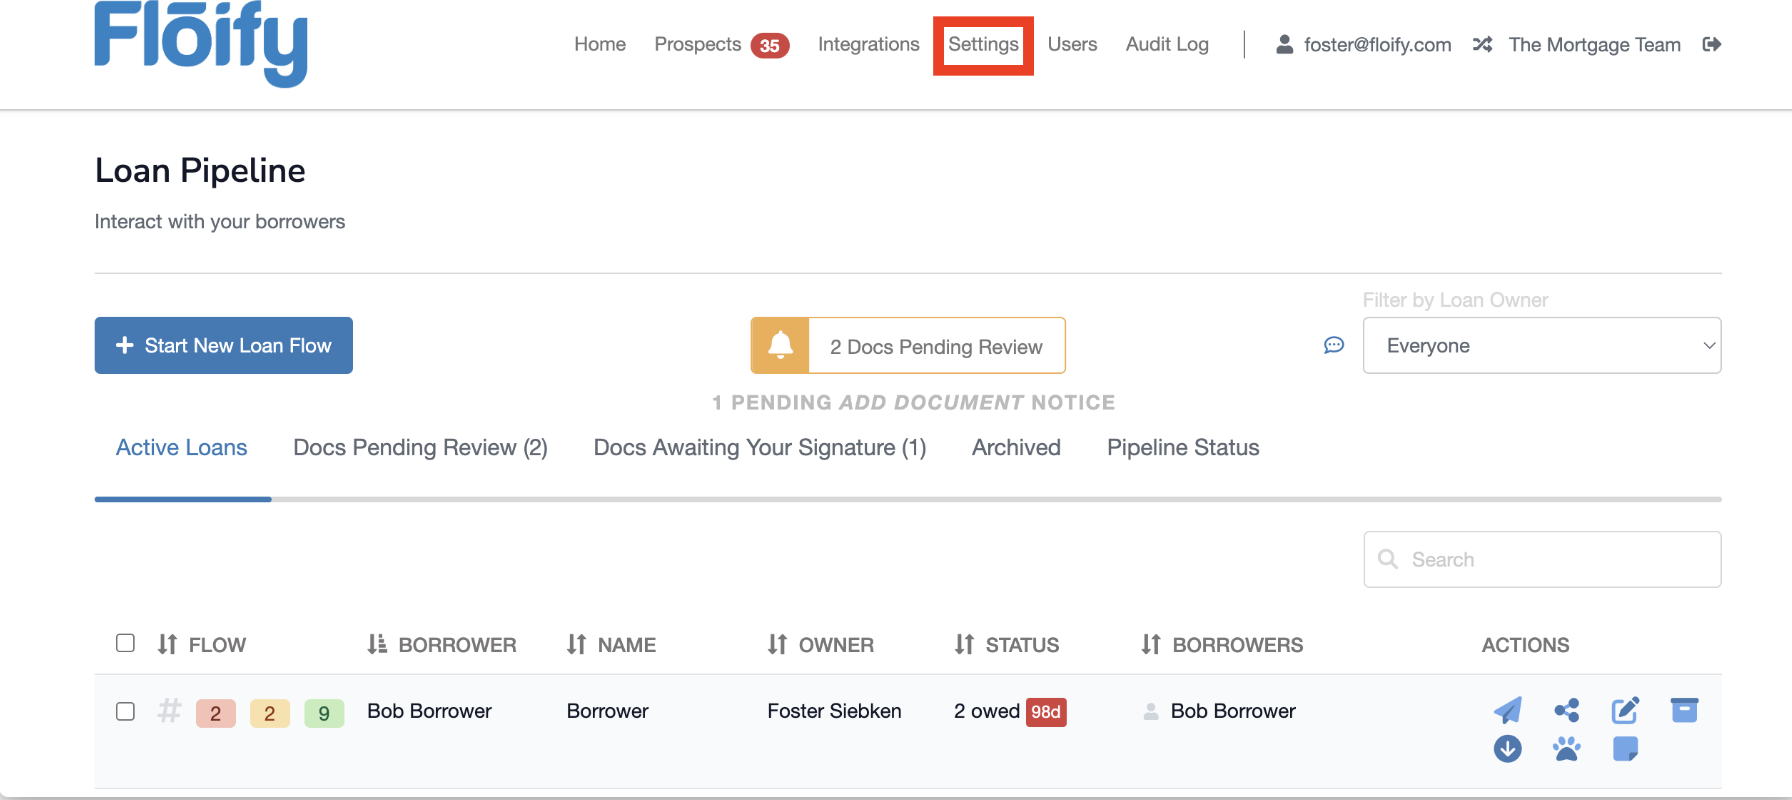
Access Company Settings:
- Go to the Company Dashboard and select Company Settings.
-
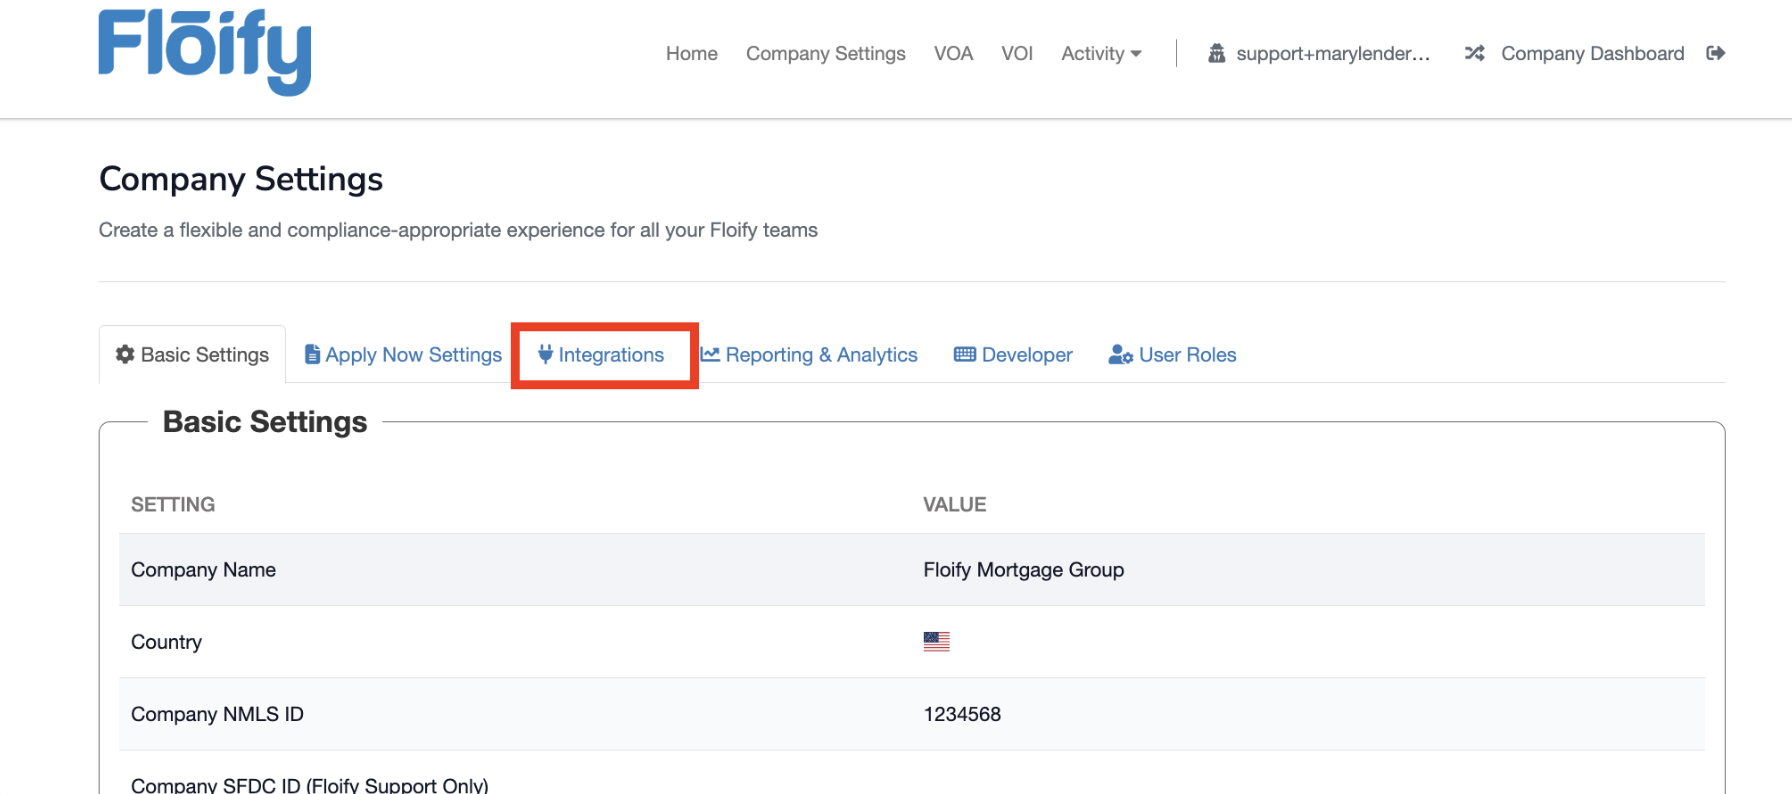
Integrations Tab:
- Click on the Integrations tab.
-
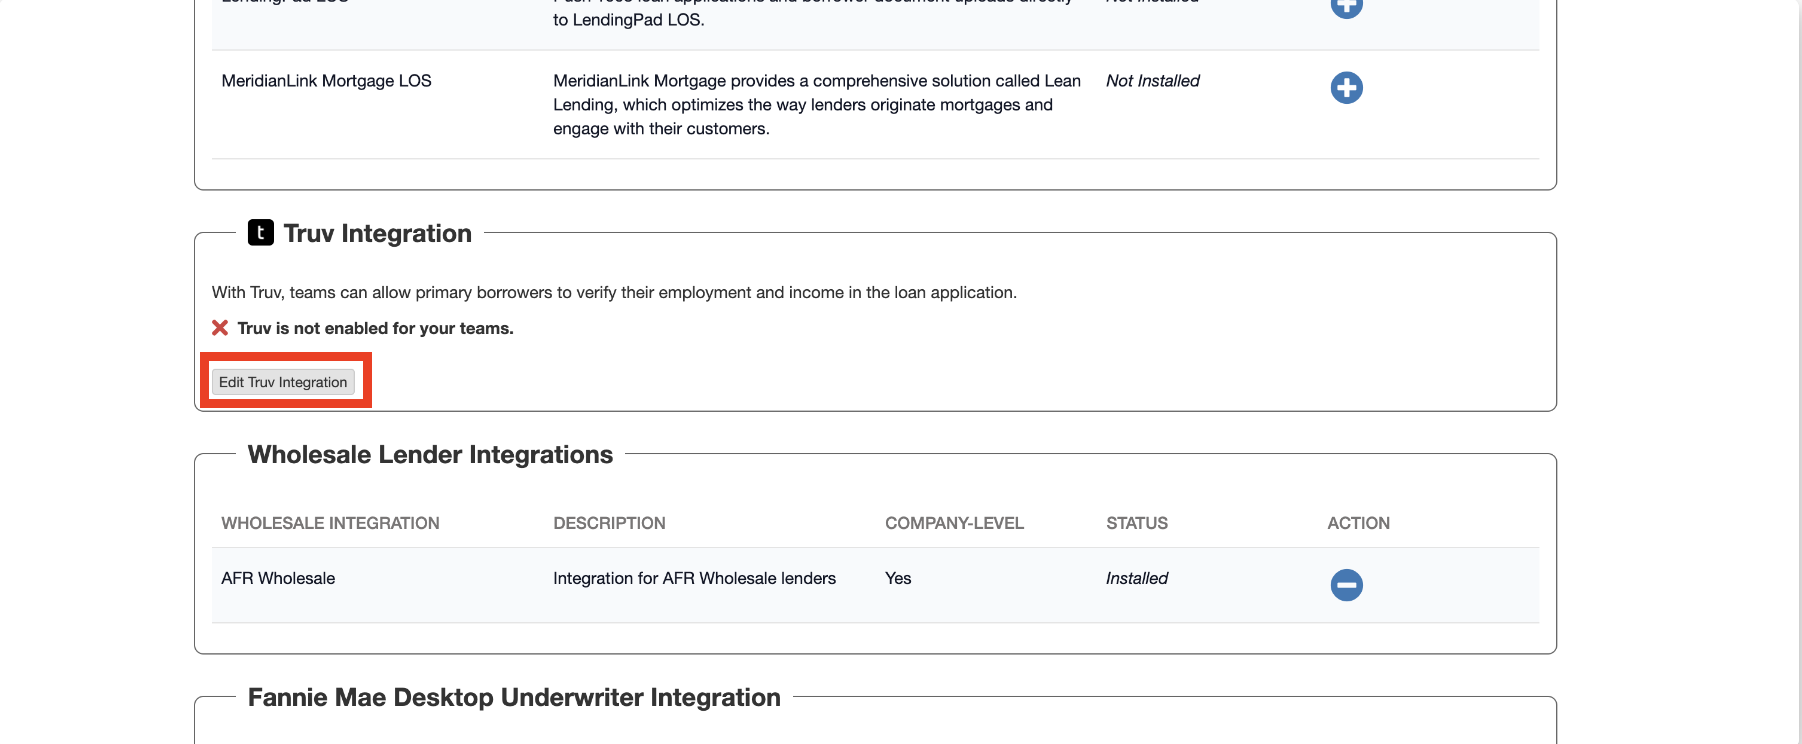
Edit Truv Integration:
- Locate the Truv Integration section and choose Edit Truv Integration.
-
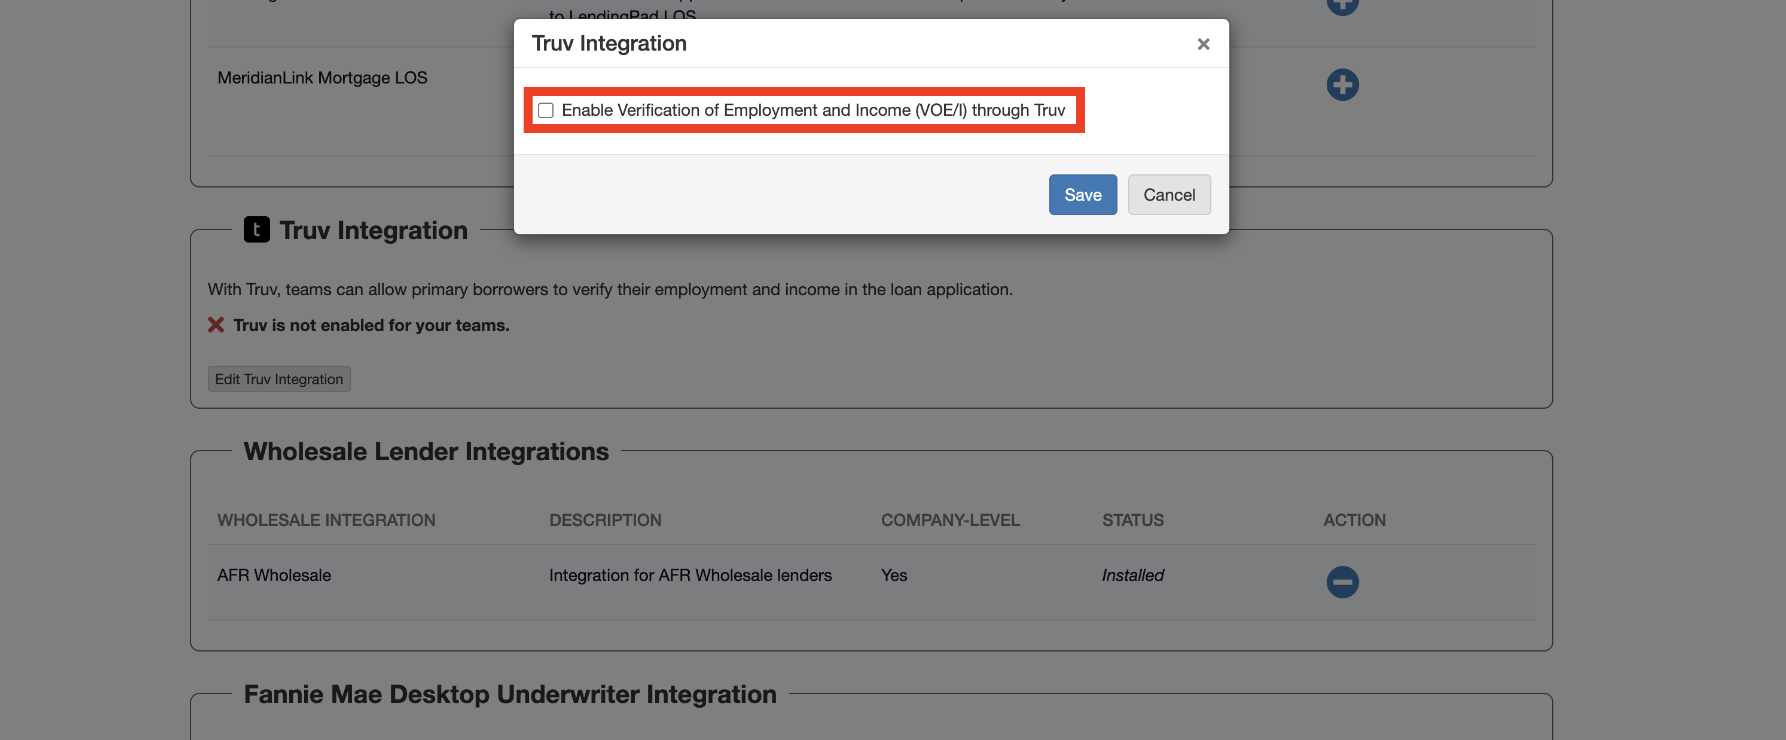
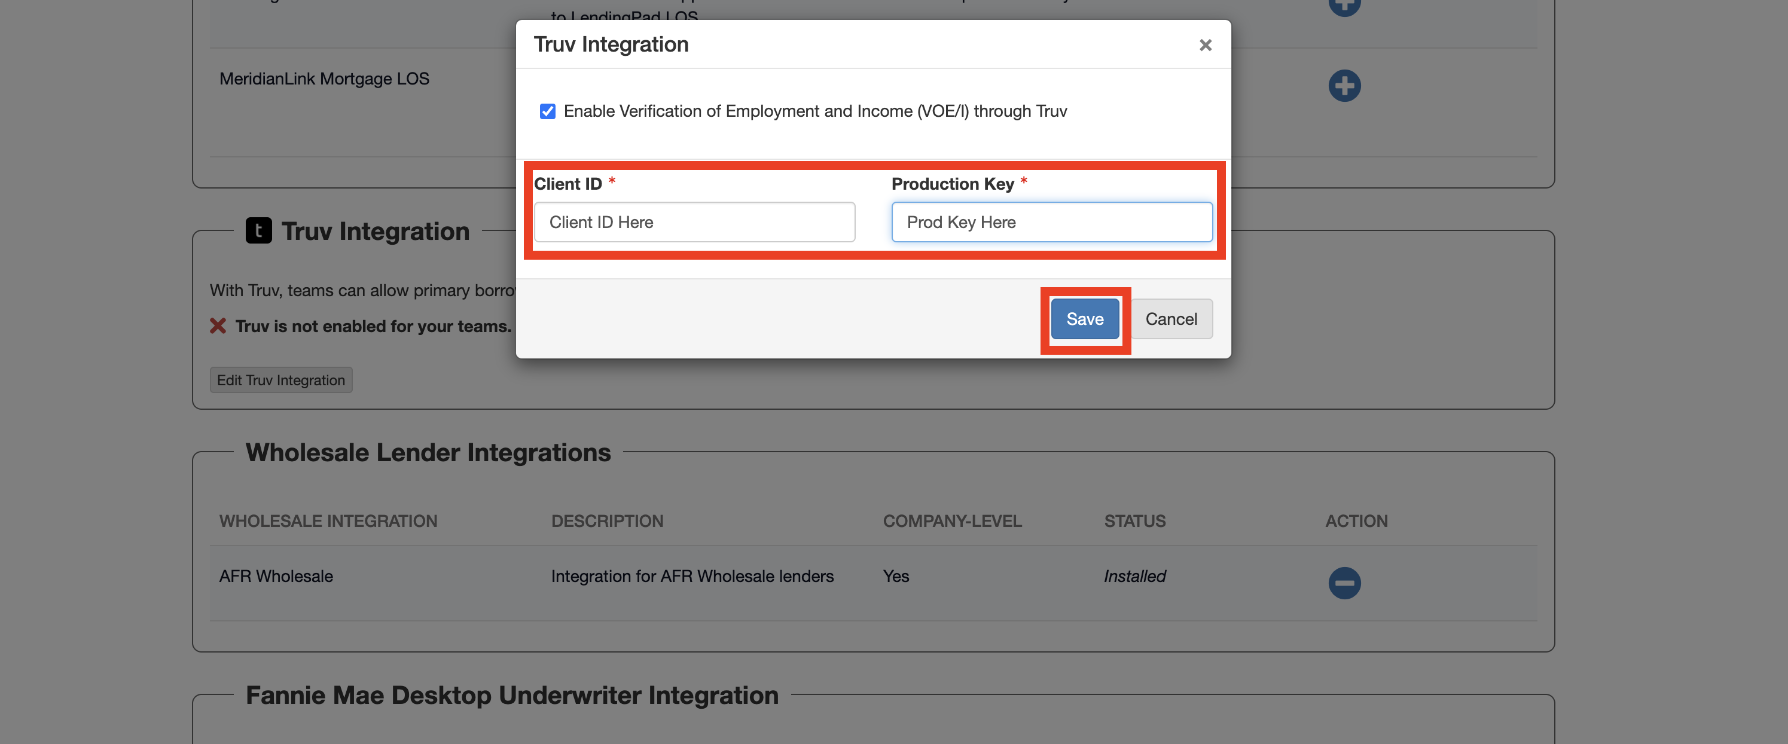
Enable VOE/I:
- Check the box to Enable Verification of Employment and Income (VOE/I) through Truv
-
Enter Credentials:
- Input the Client ID and Production Key provided by Truv.
Team Dashboard
-
Access Team Settings:
- Navigate to the Team Dashboard and select Team Settings.
-
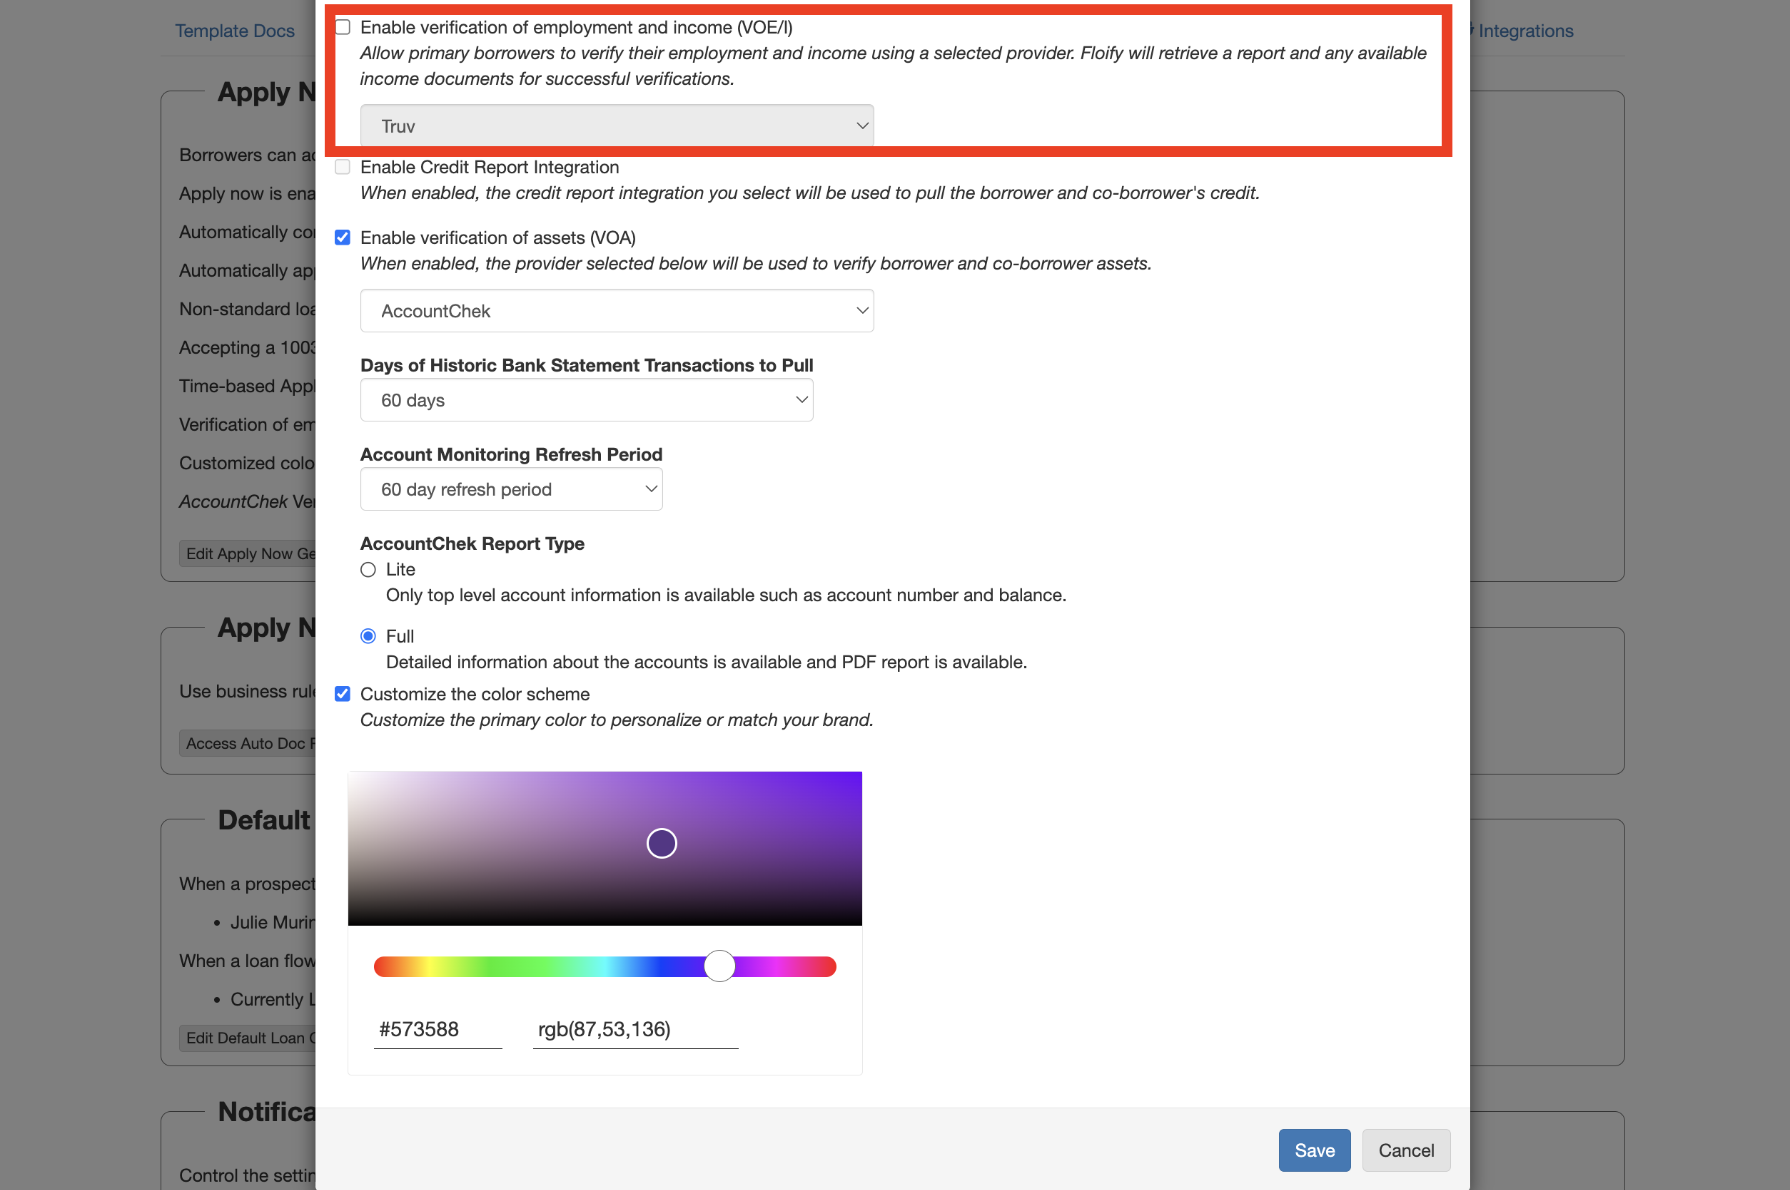
Edit Apply Now Settings:
- Go to Apply Now > Edit Apply Now General Settings.

-
Enable VOE/I:
- Check the box to Enable verification of employment and income (VOE/I):
-
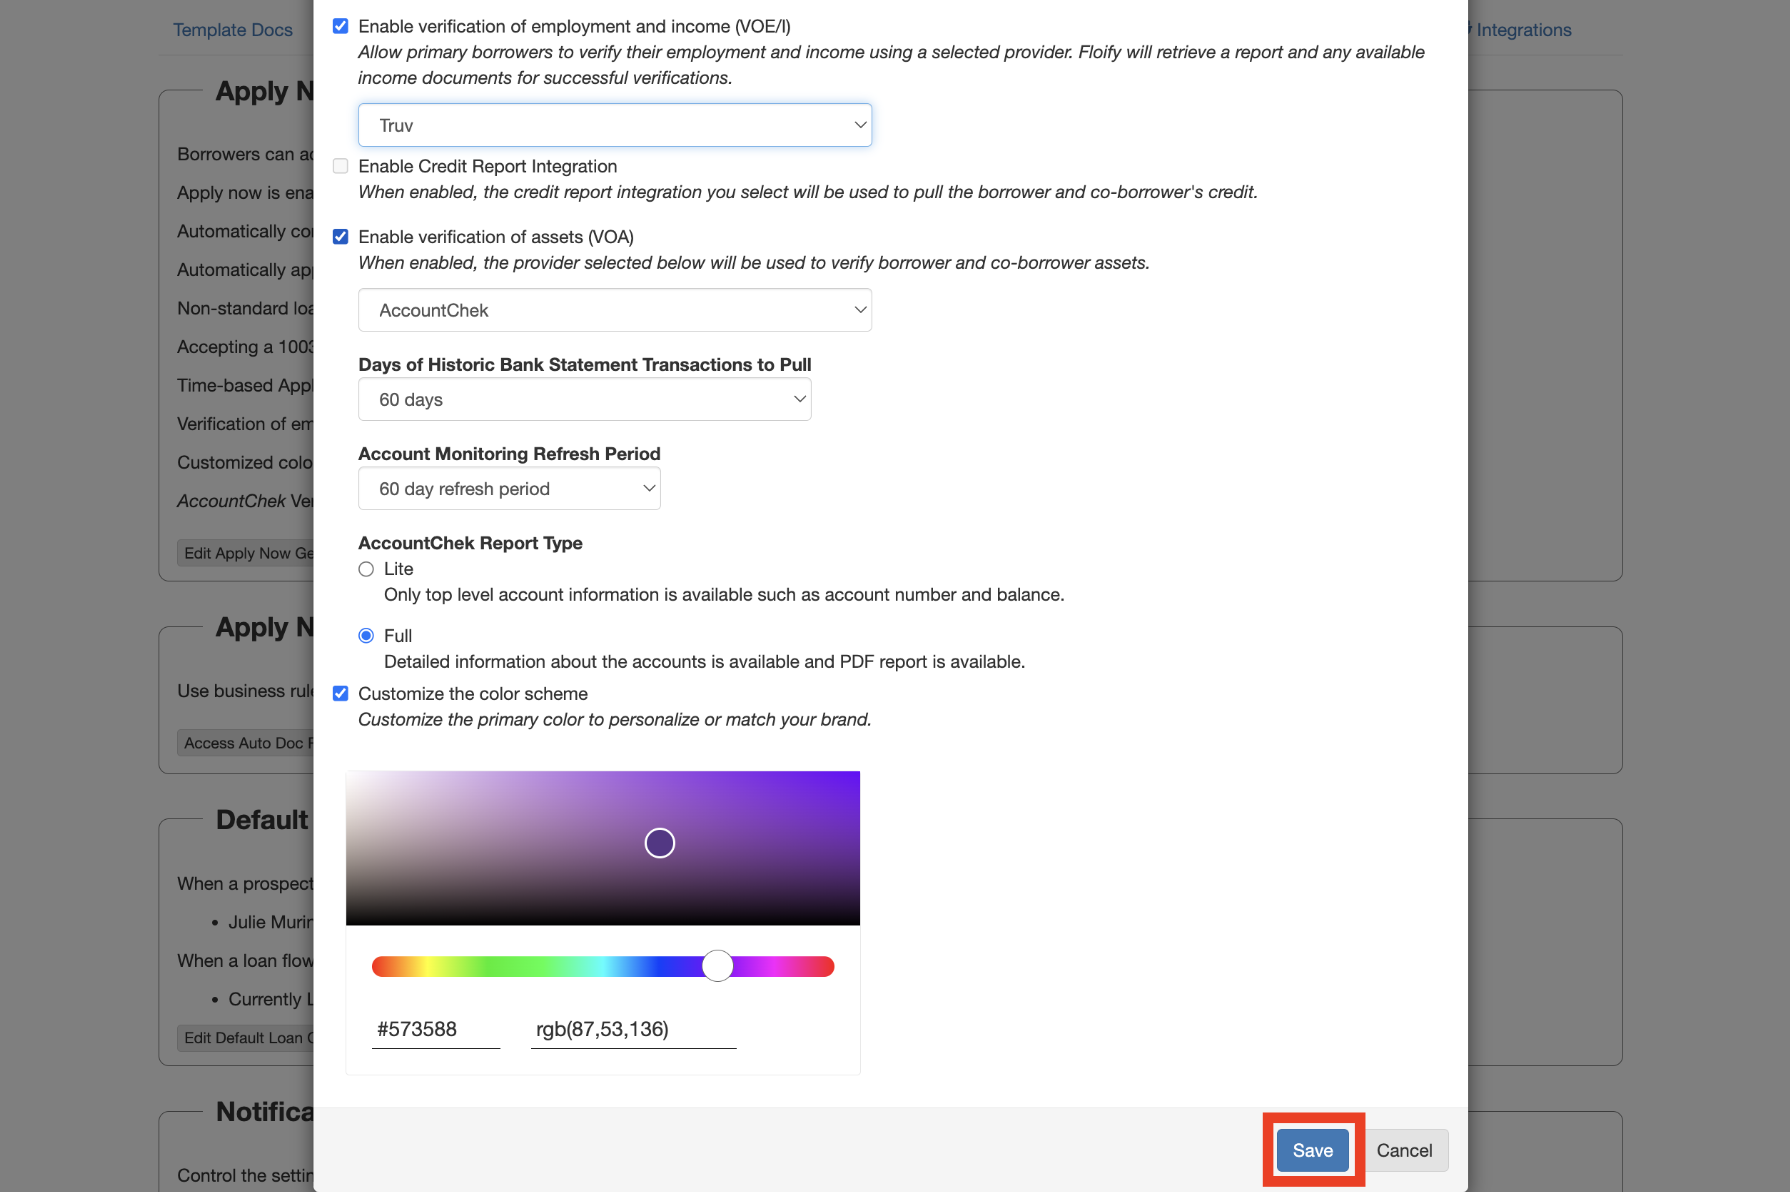
Select Truv
- Choose Truv from the dropdown menu and click Save.
Borrower Workflow using Truv in Floify
Borrowers will enter their employment and income details, then proceed to the Verify Income section of their application to link their accounts and/or upload relevant documents. All connected data, including manually uploaded files and any tax documents pulled from their payroll system, will seamlessly integrate into the loan process for review.
For a quick overview of the borrower’s workflow, watch the video below:
Launch with Truv in Floify
- Contact Customer Success:
- Reach out to your customer success team at Floify to confirm your one-time admin setup.
- Enable Truv:
- Activate Truv within Floify.
- Customize Templates:
- Configure your templates in the Truv Dashboard.
- Test in Sandbox Mode:
- Test the integration in Sandbox mode to get acquainted with Truv.
- Go Live:
- Obtain Production access and integrate Truv with Floify for end-to-end processing. Ensure submission to DU (Desktop Underwriter) and LPA (Loan Product Advisor) systems is configured.
You are now live with Truv within Floify.
- Obtain Production access and integrate Truv with Floify for end-to-end processing. Ensure submission to DU (Desktop Underwriter) and LPA (Loan Product Advisor) systems is configured.
Refer to the detailed step-by-step guide to launch Truv within Floify.