
Designing the Insurance Verification UX
Provide a private and secure experience for your users when using Truv Insurance Verification.
Landing page
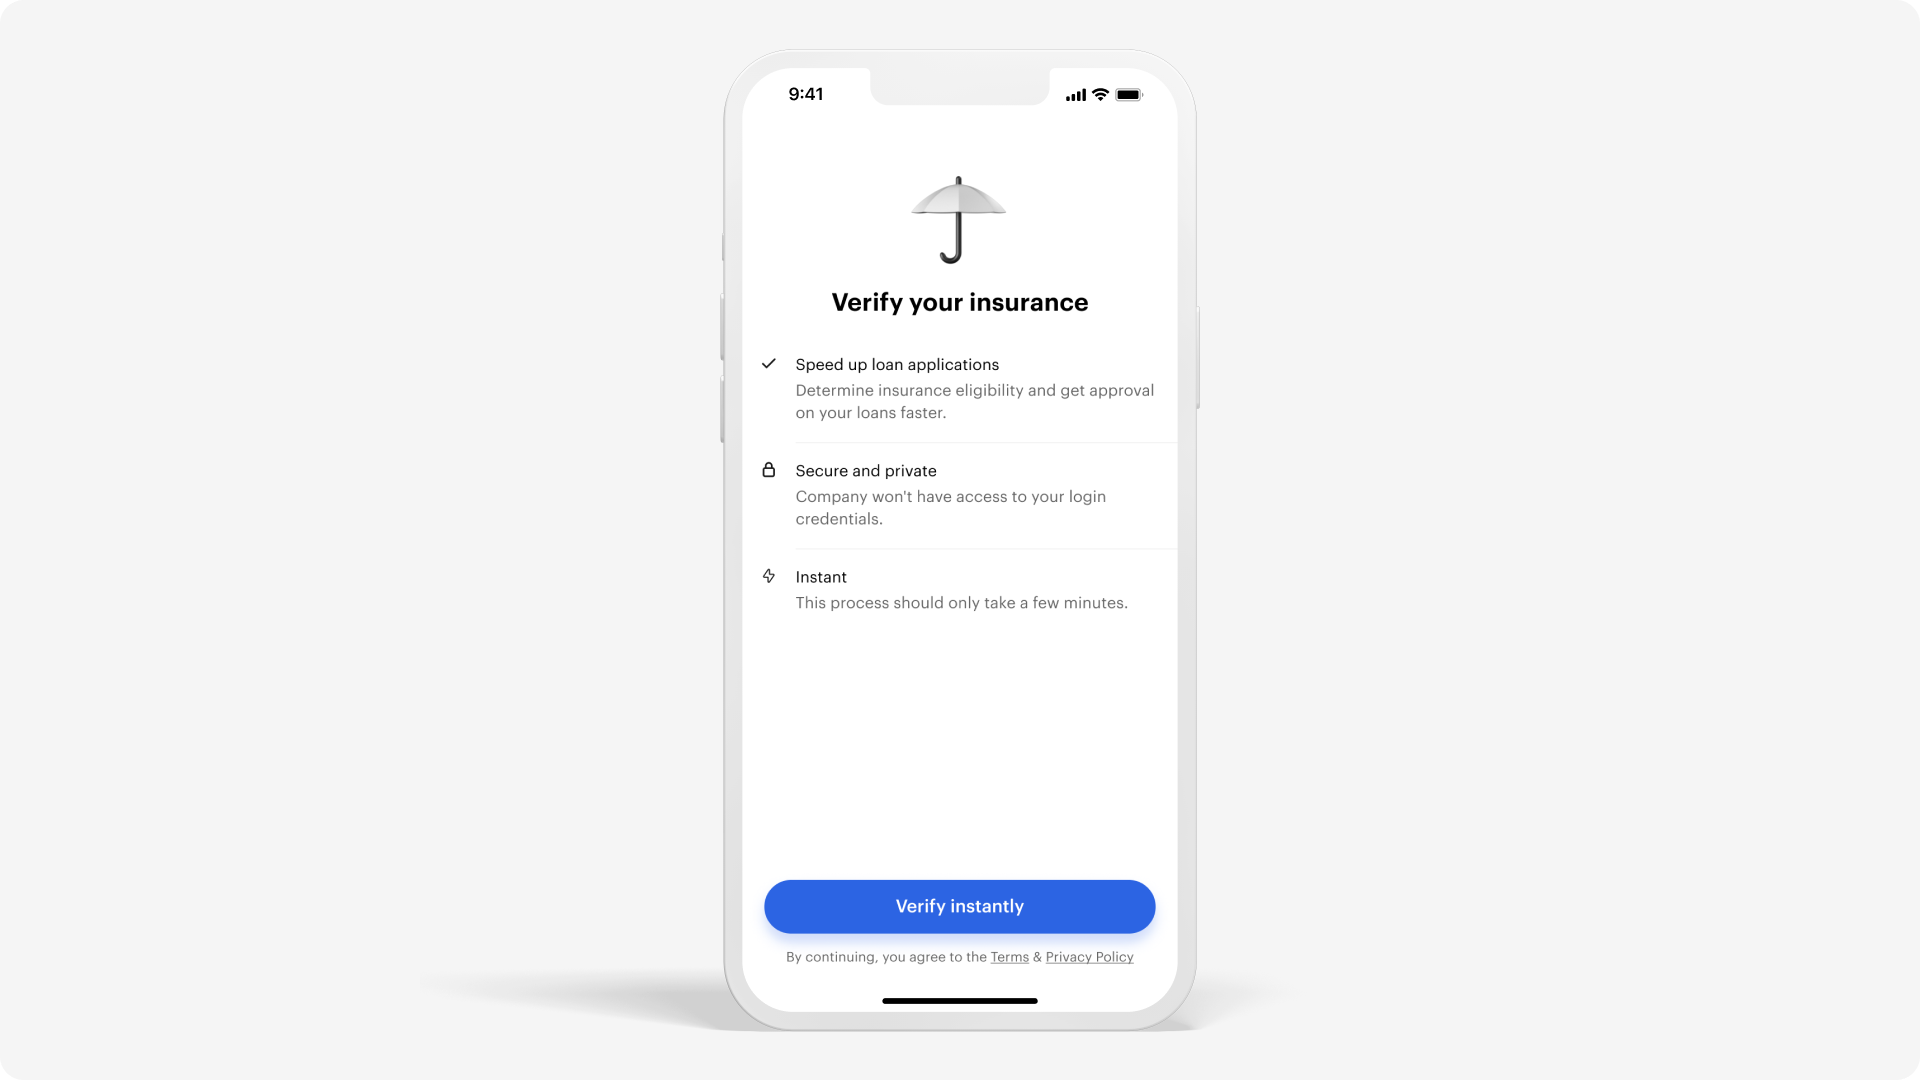
Create successful experiences for your users with a modern high quality introduction page for Insurance Verification. Streamline and emphasize action items with context and incentives.
Users can verify insurance and connect to their insurance provider. Provide context for next steps highlighting your users’ privacy and security.
Verification can be instant compared to the wait time for other methods. With Truv Insurance Verification, your users can avoid lenders needing to manually review uploaded policies. Improve your conversion rates with this benefit when guiding users connecting their accounts.
Configure your introduction page to your users on top of Truv’s widget templates. Provide additional context and guidance as needed for a successful user experience.
Insurance provider search
Truv simplifies connecting your users to their insurance provider. Use the strategies below for your process.
- Without your user’s insurance provider information -> Use Truv’s default search
- With your user’s insurance provider information -> Deeplink directly to login
Using Truv's search
Truv Bridge is a new way to verify insurance history. This lets users connect to their insurance provider for the first time.
Users can select their provider in Truv from the insurance provider list or look for their insurance provider in the search field at the top of the screen.

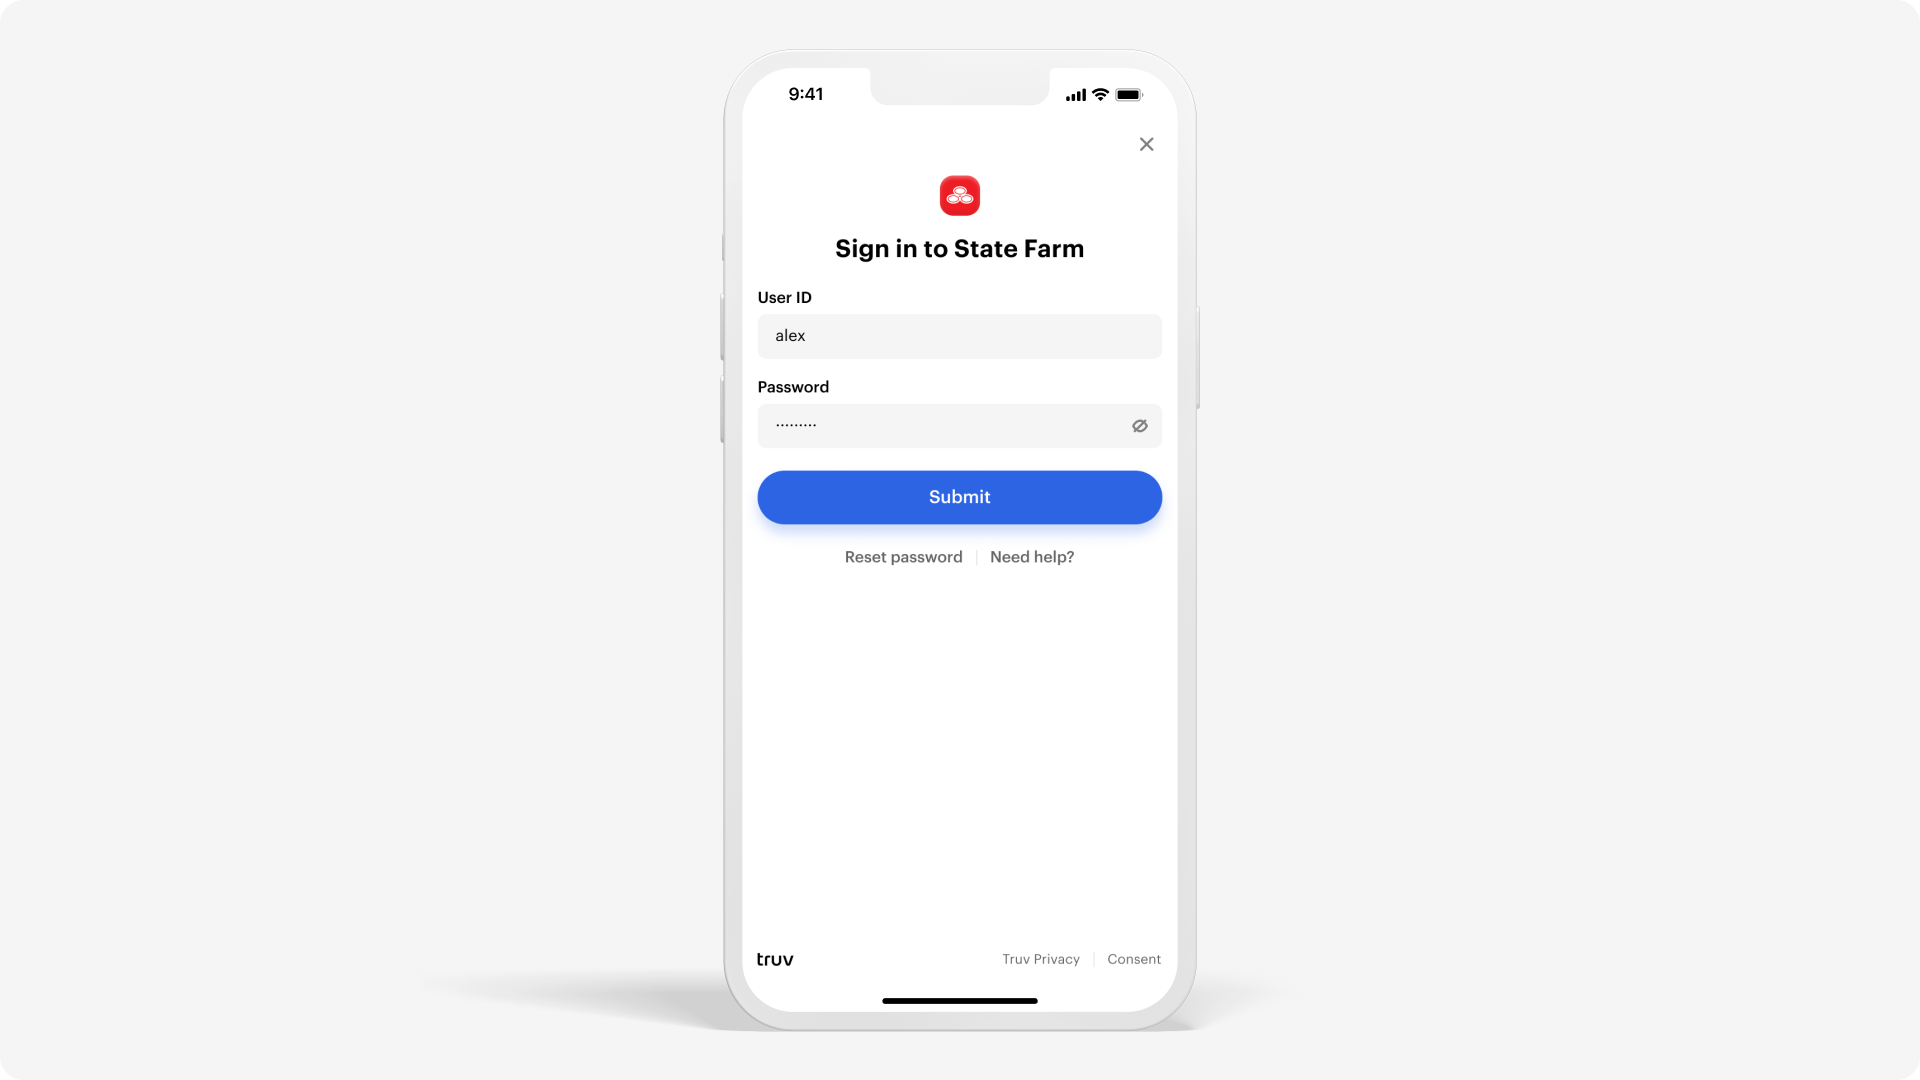
Building your own search with deeplinking
With your user’s insurance provider information, deeplink users directly to the login input screen. Use that data to let users skip the search screen in the widget.
In addition, you can use the List all data providers endpoint to search for insurance product type queries. You can then pass the correct insurance provider data to Truv Bridge. Once the user confirms the information, direct them to the insurance provider login screen.
Routing the user after login
Depending on the connection results, users can be routed to the success screen or return to select other verification options.
Successful connection
The two points below are common options to direct the user after they successfully log in.
- Show users the status for the successful connection
- Use Webhooks or poll Truv’s backend API for status
- Allow users to close Truv Bridge after logging in
- Faster solution for users
- Wait for updates when gathering and parsing basic insurance provider information
- Show success when completed
- Easier solution for developers
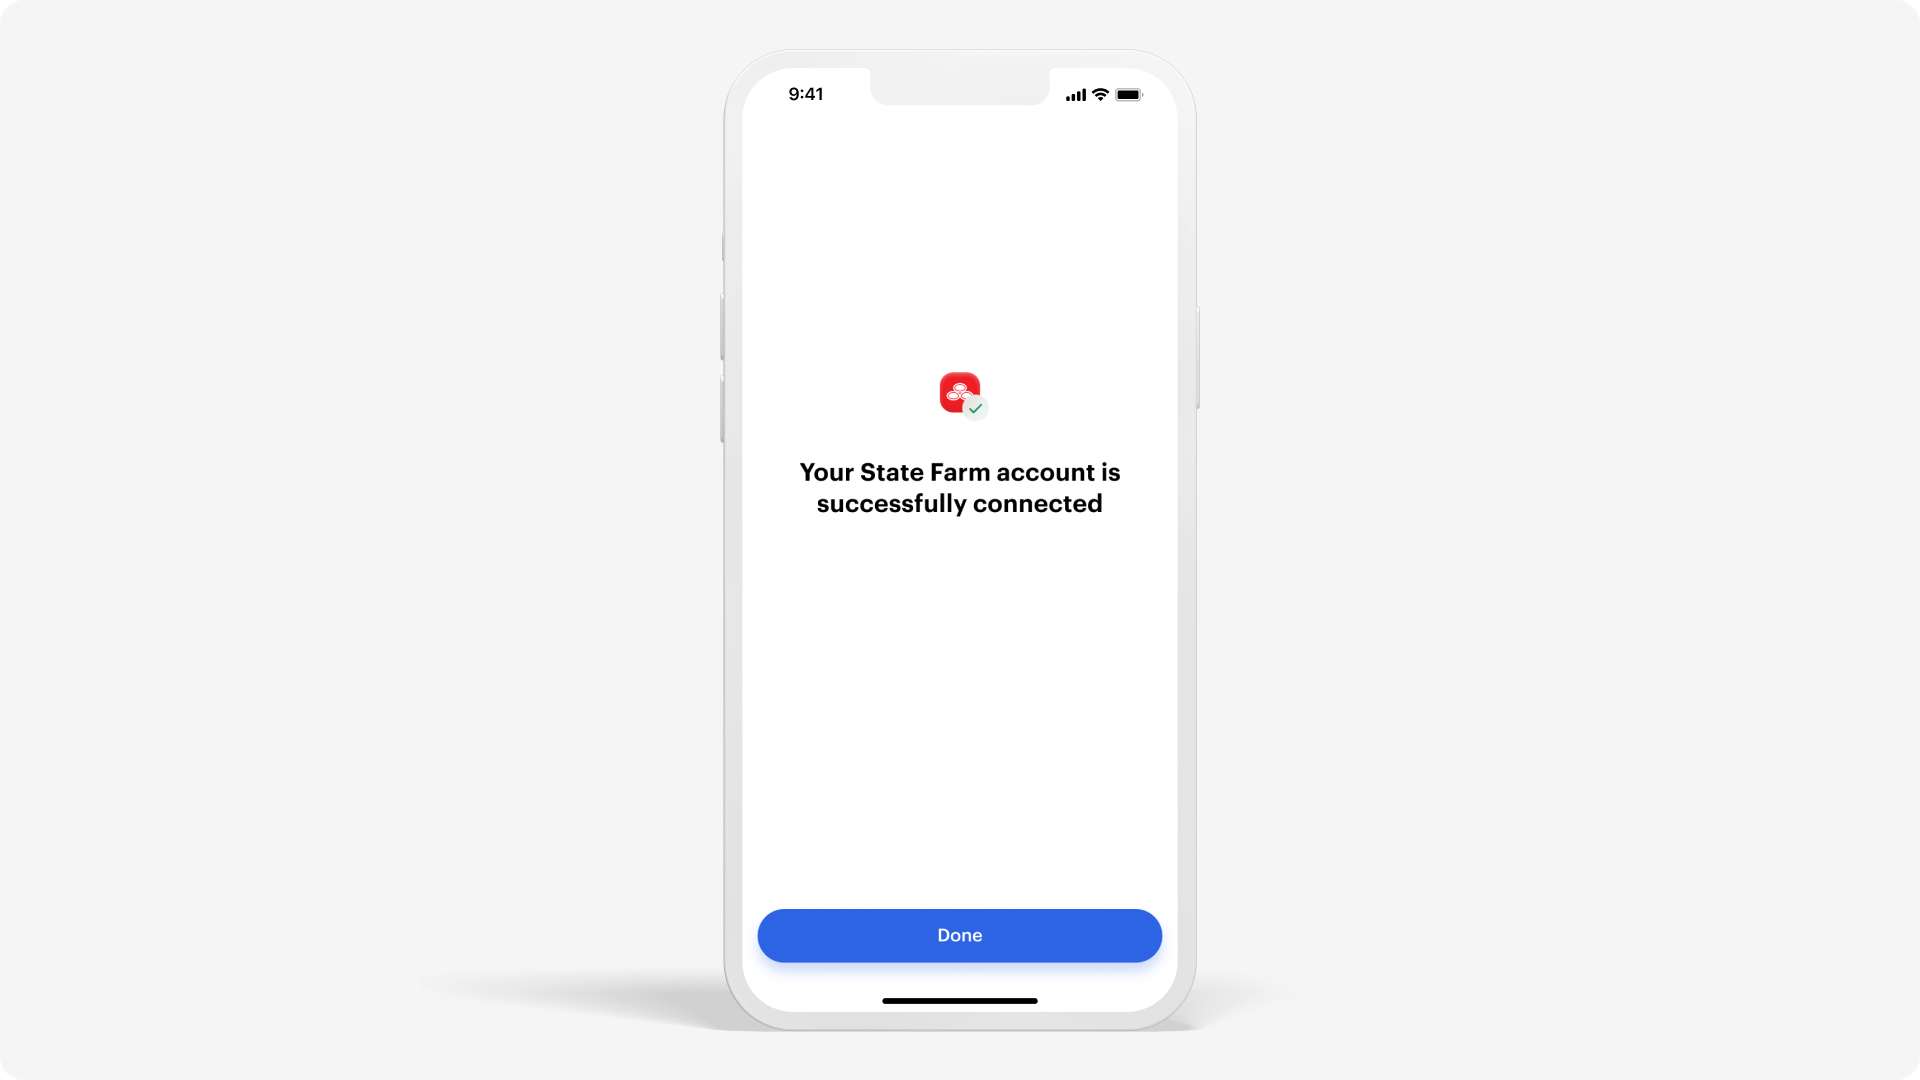
TipShow users an application confirmation after successfully connecting an account.
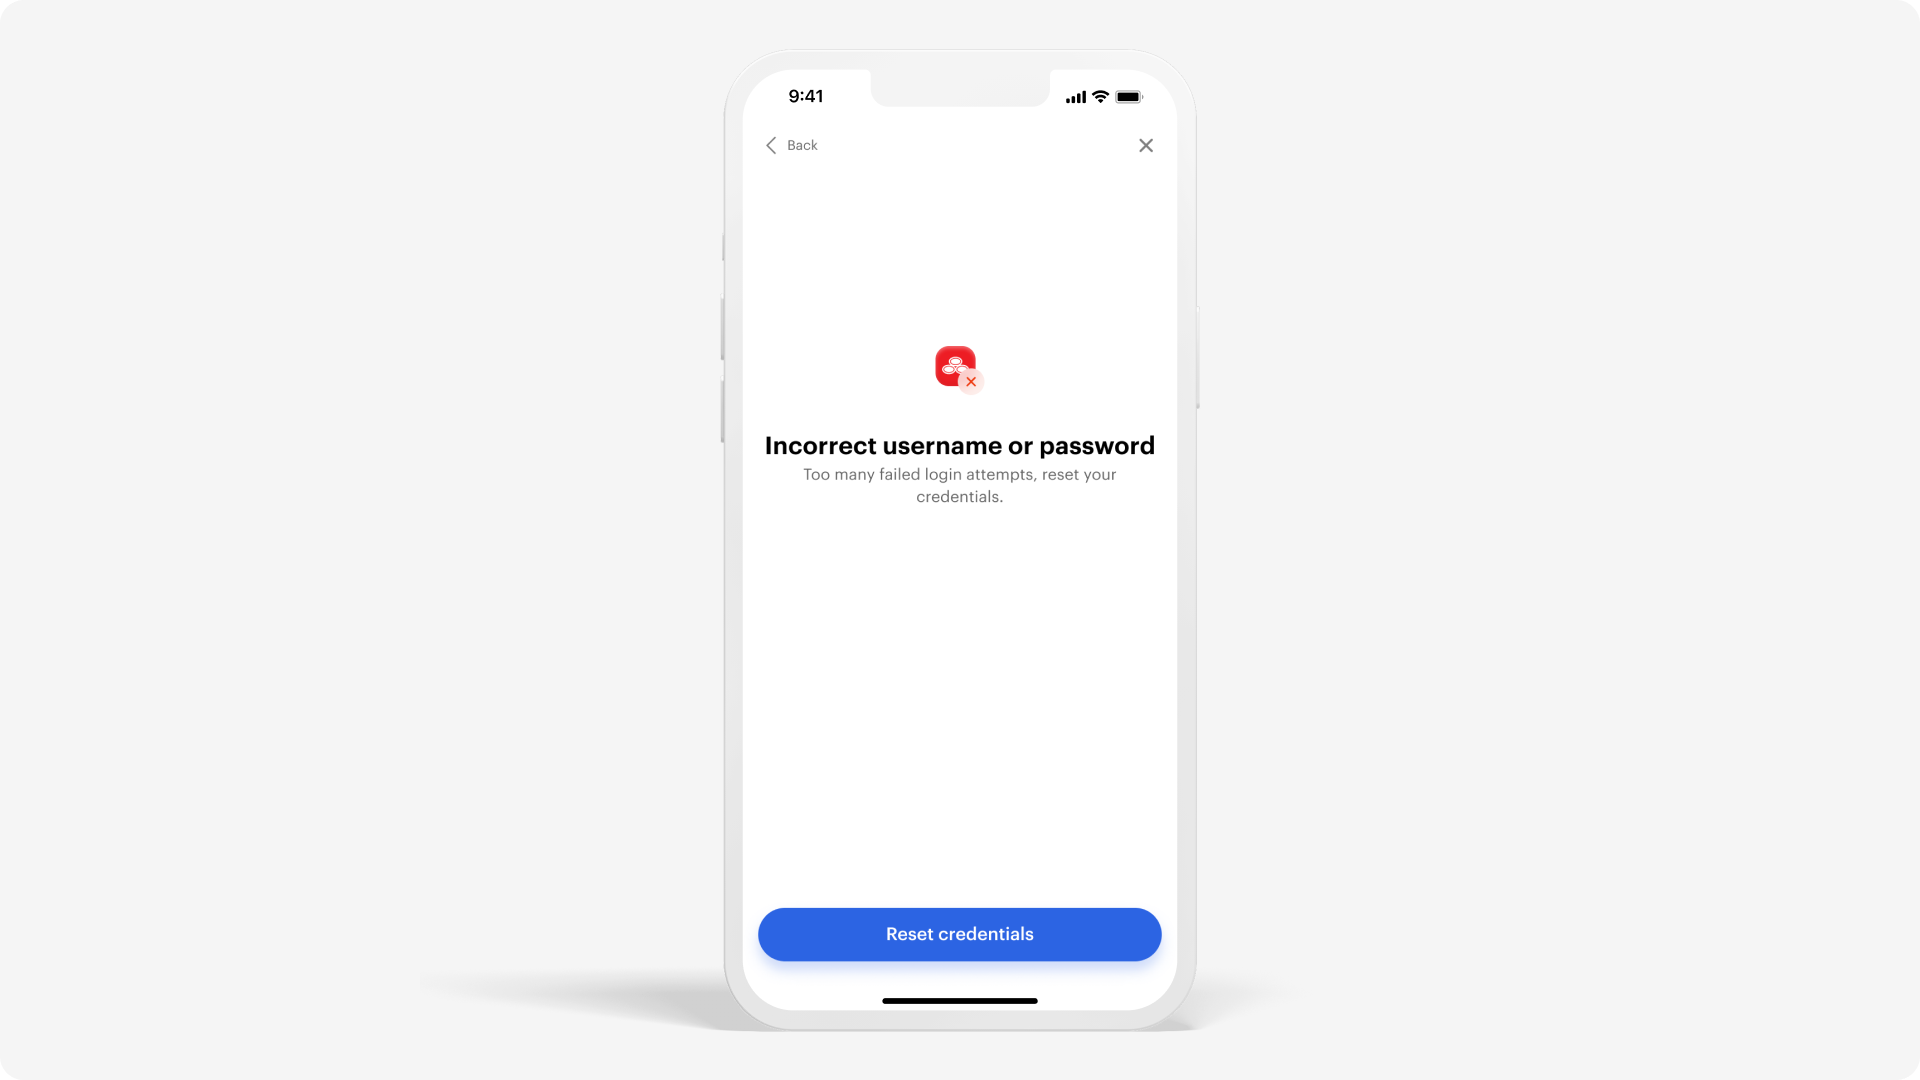
Unsuccessful connection
If a user isn’t able to connect their account, provide an alternative verification method.
Updated 8 months ago