

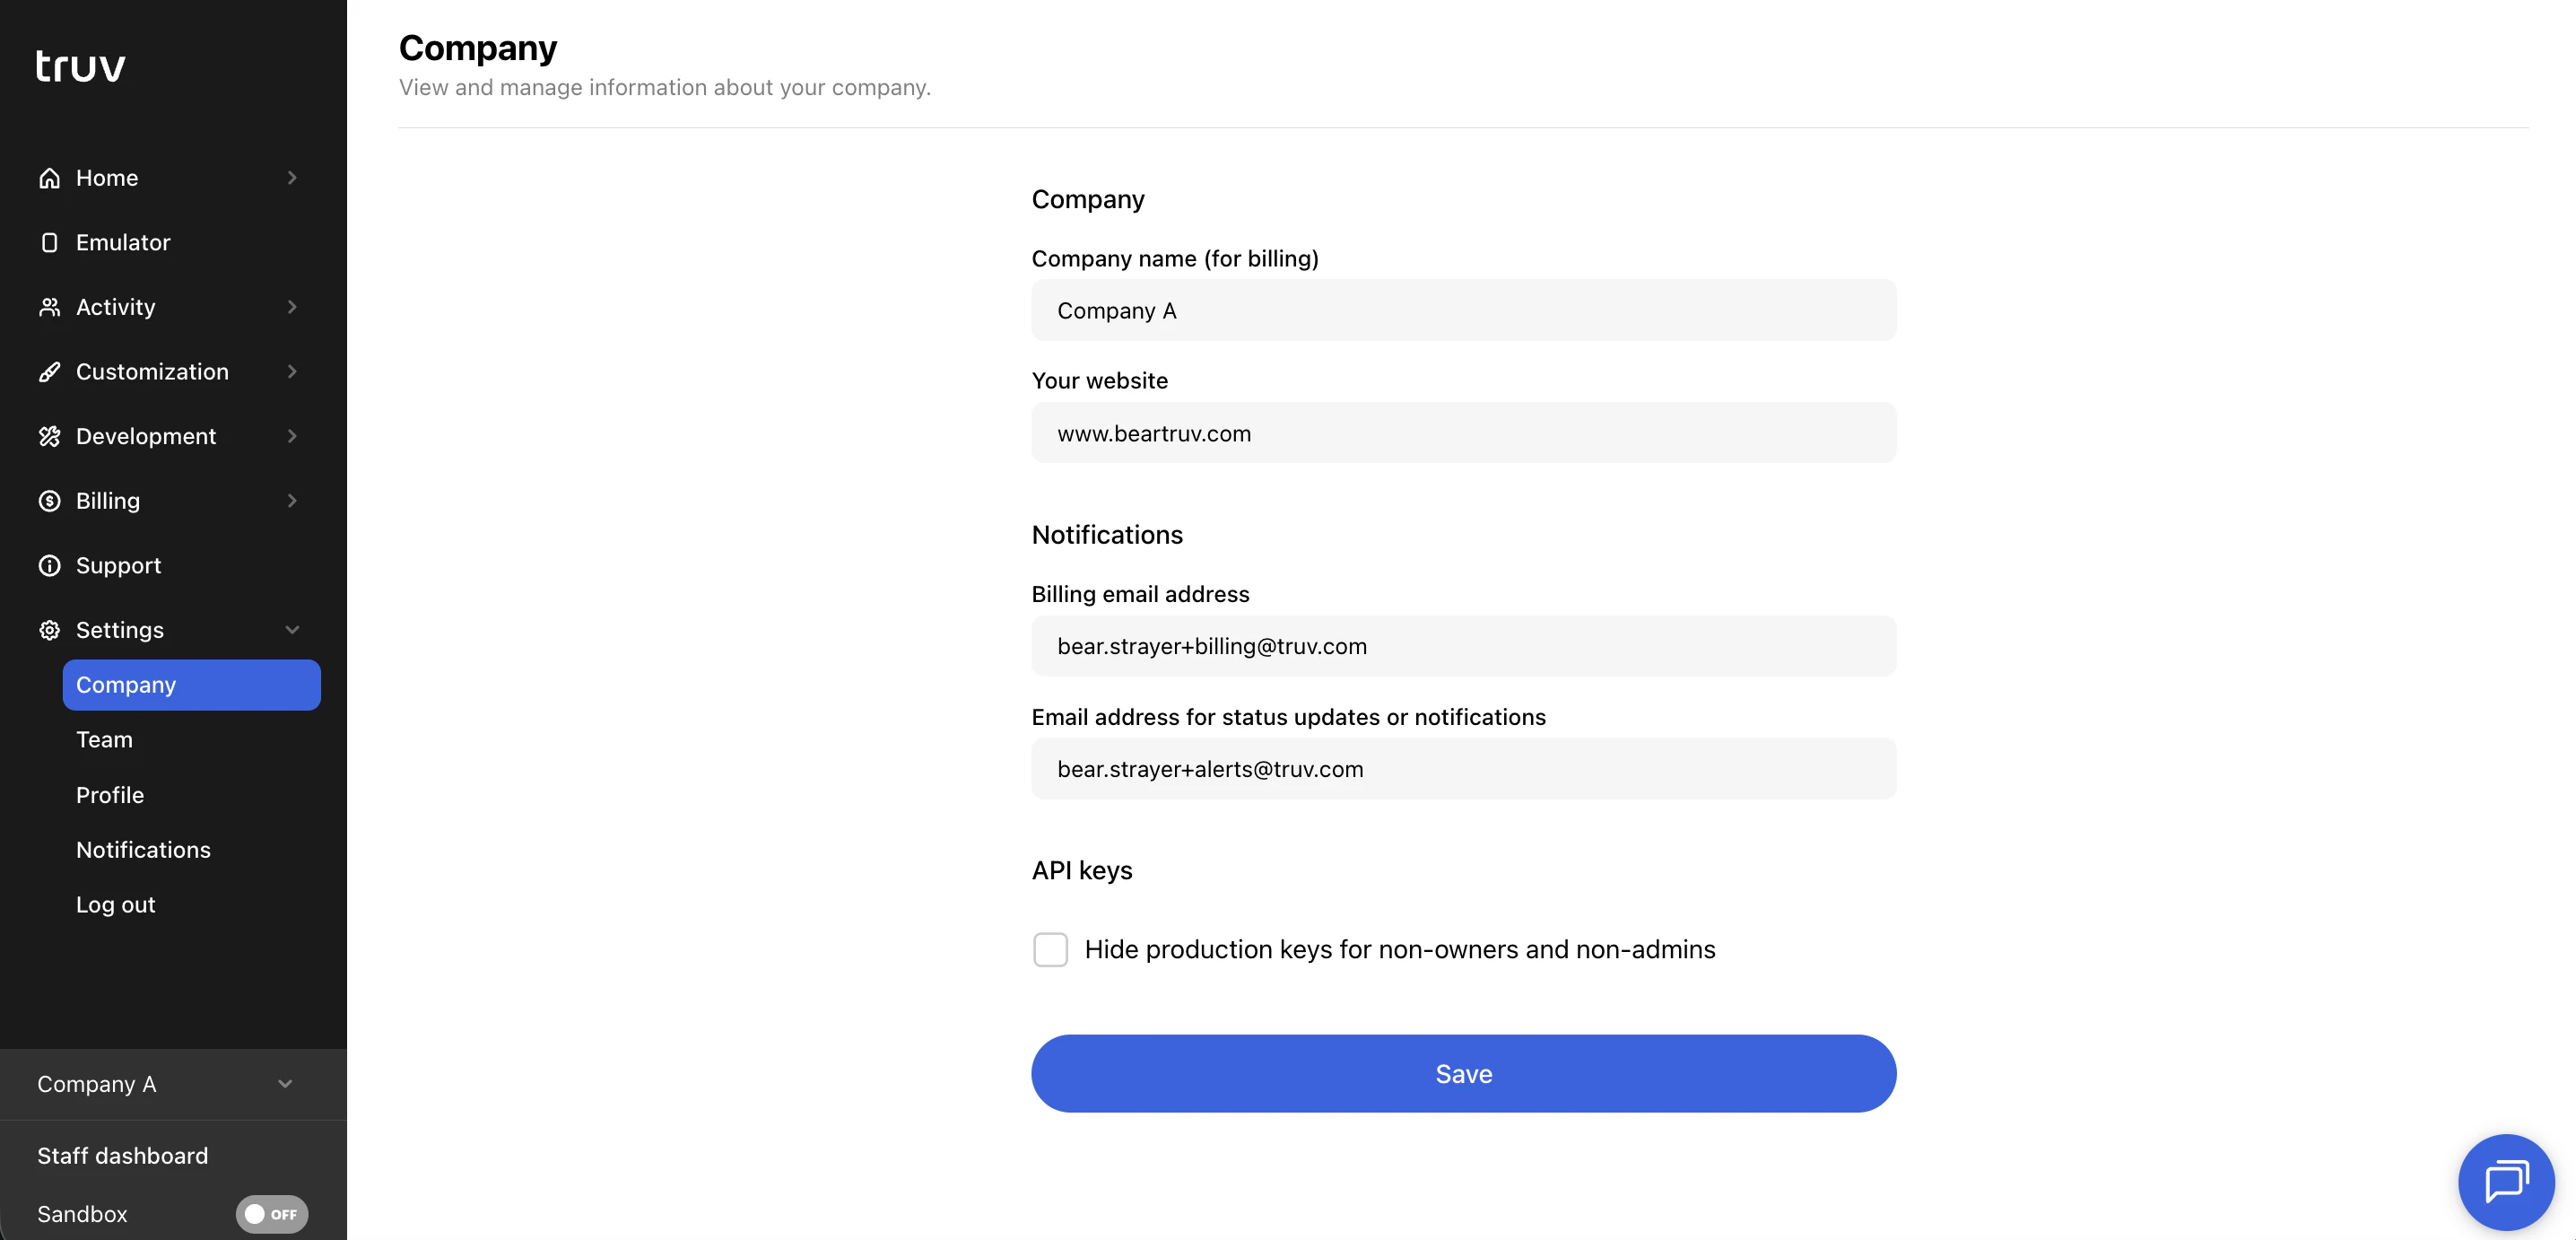
Company
Team
The Team tab shows all members in your Truv Dashboard account.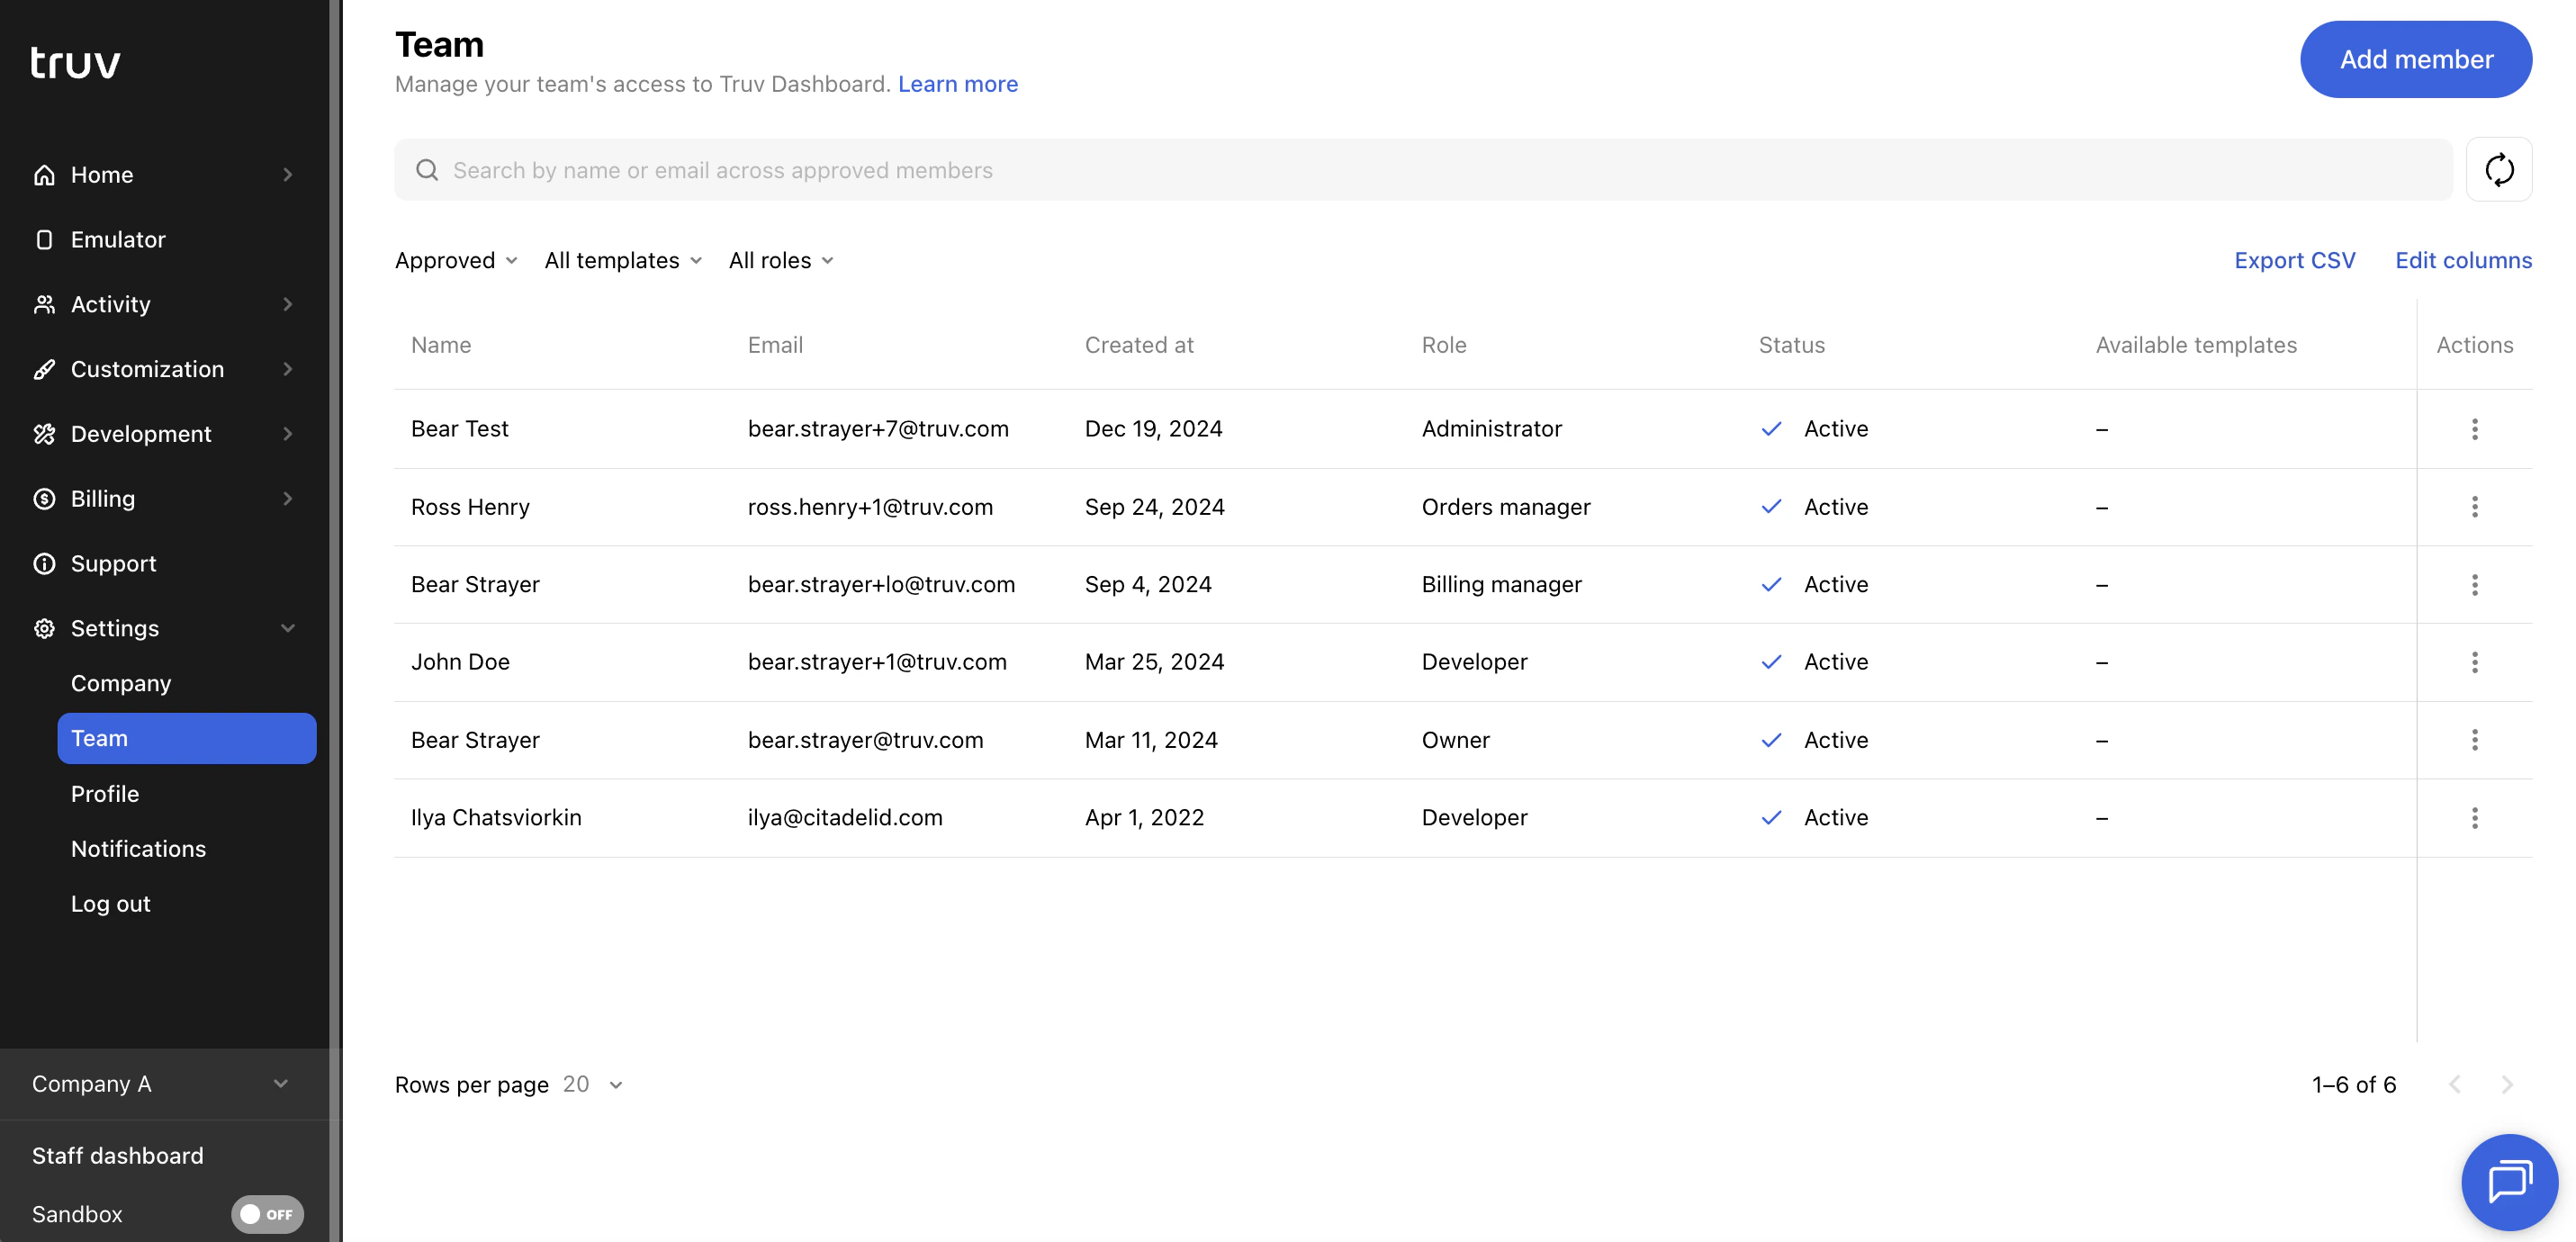
Table columns
Member statuses
Member actions
Search and filters
Click Export CSV to download the current member list.
Add a member
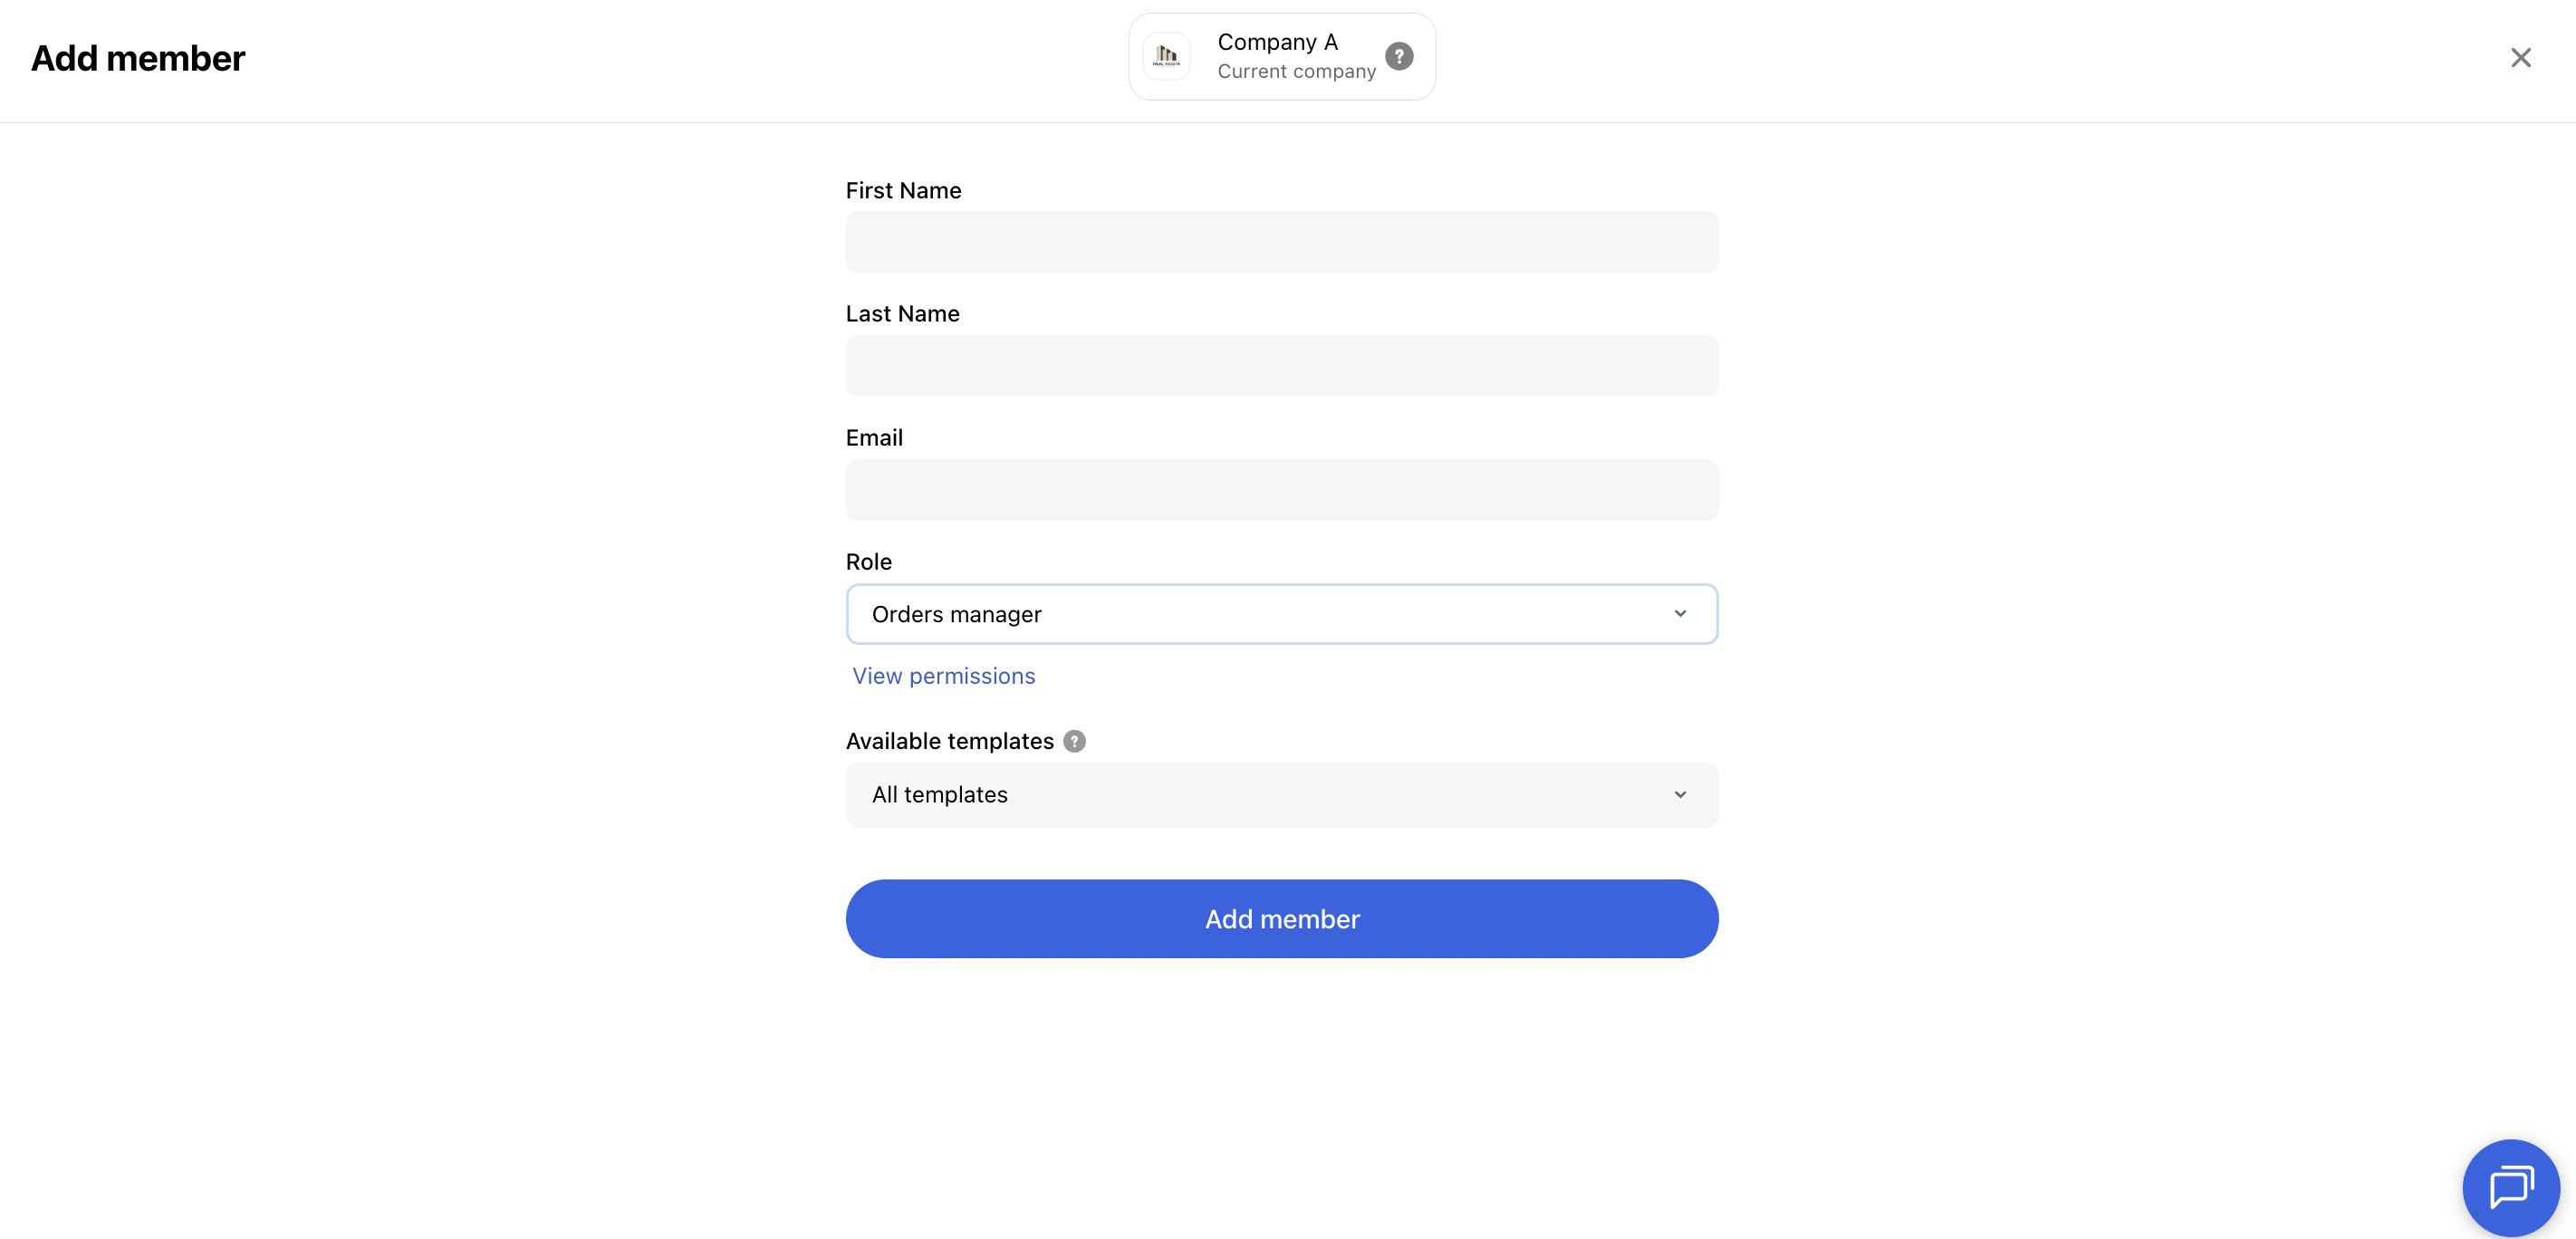
Click Add Member and provide:- First name, last name, and email address
- Role to assign
- Available templates — if the member has the Order Manager role and you want to restrict their access to specific templates, select the templates here. If none are selected, they can access all templates.
Roles
See the full role access matrix.In a multi-tenancy setup, team members can have different roles in each company.
Profile
The Profile tab shows your personal account information.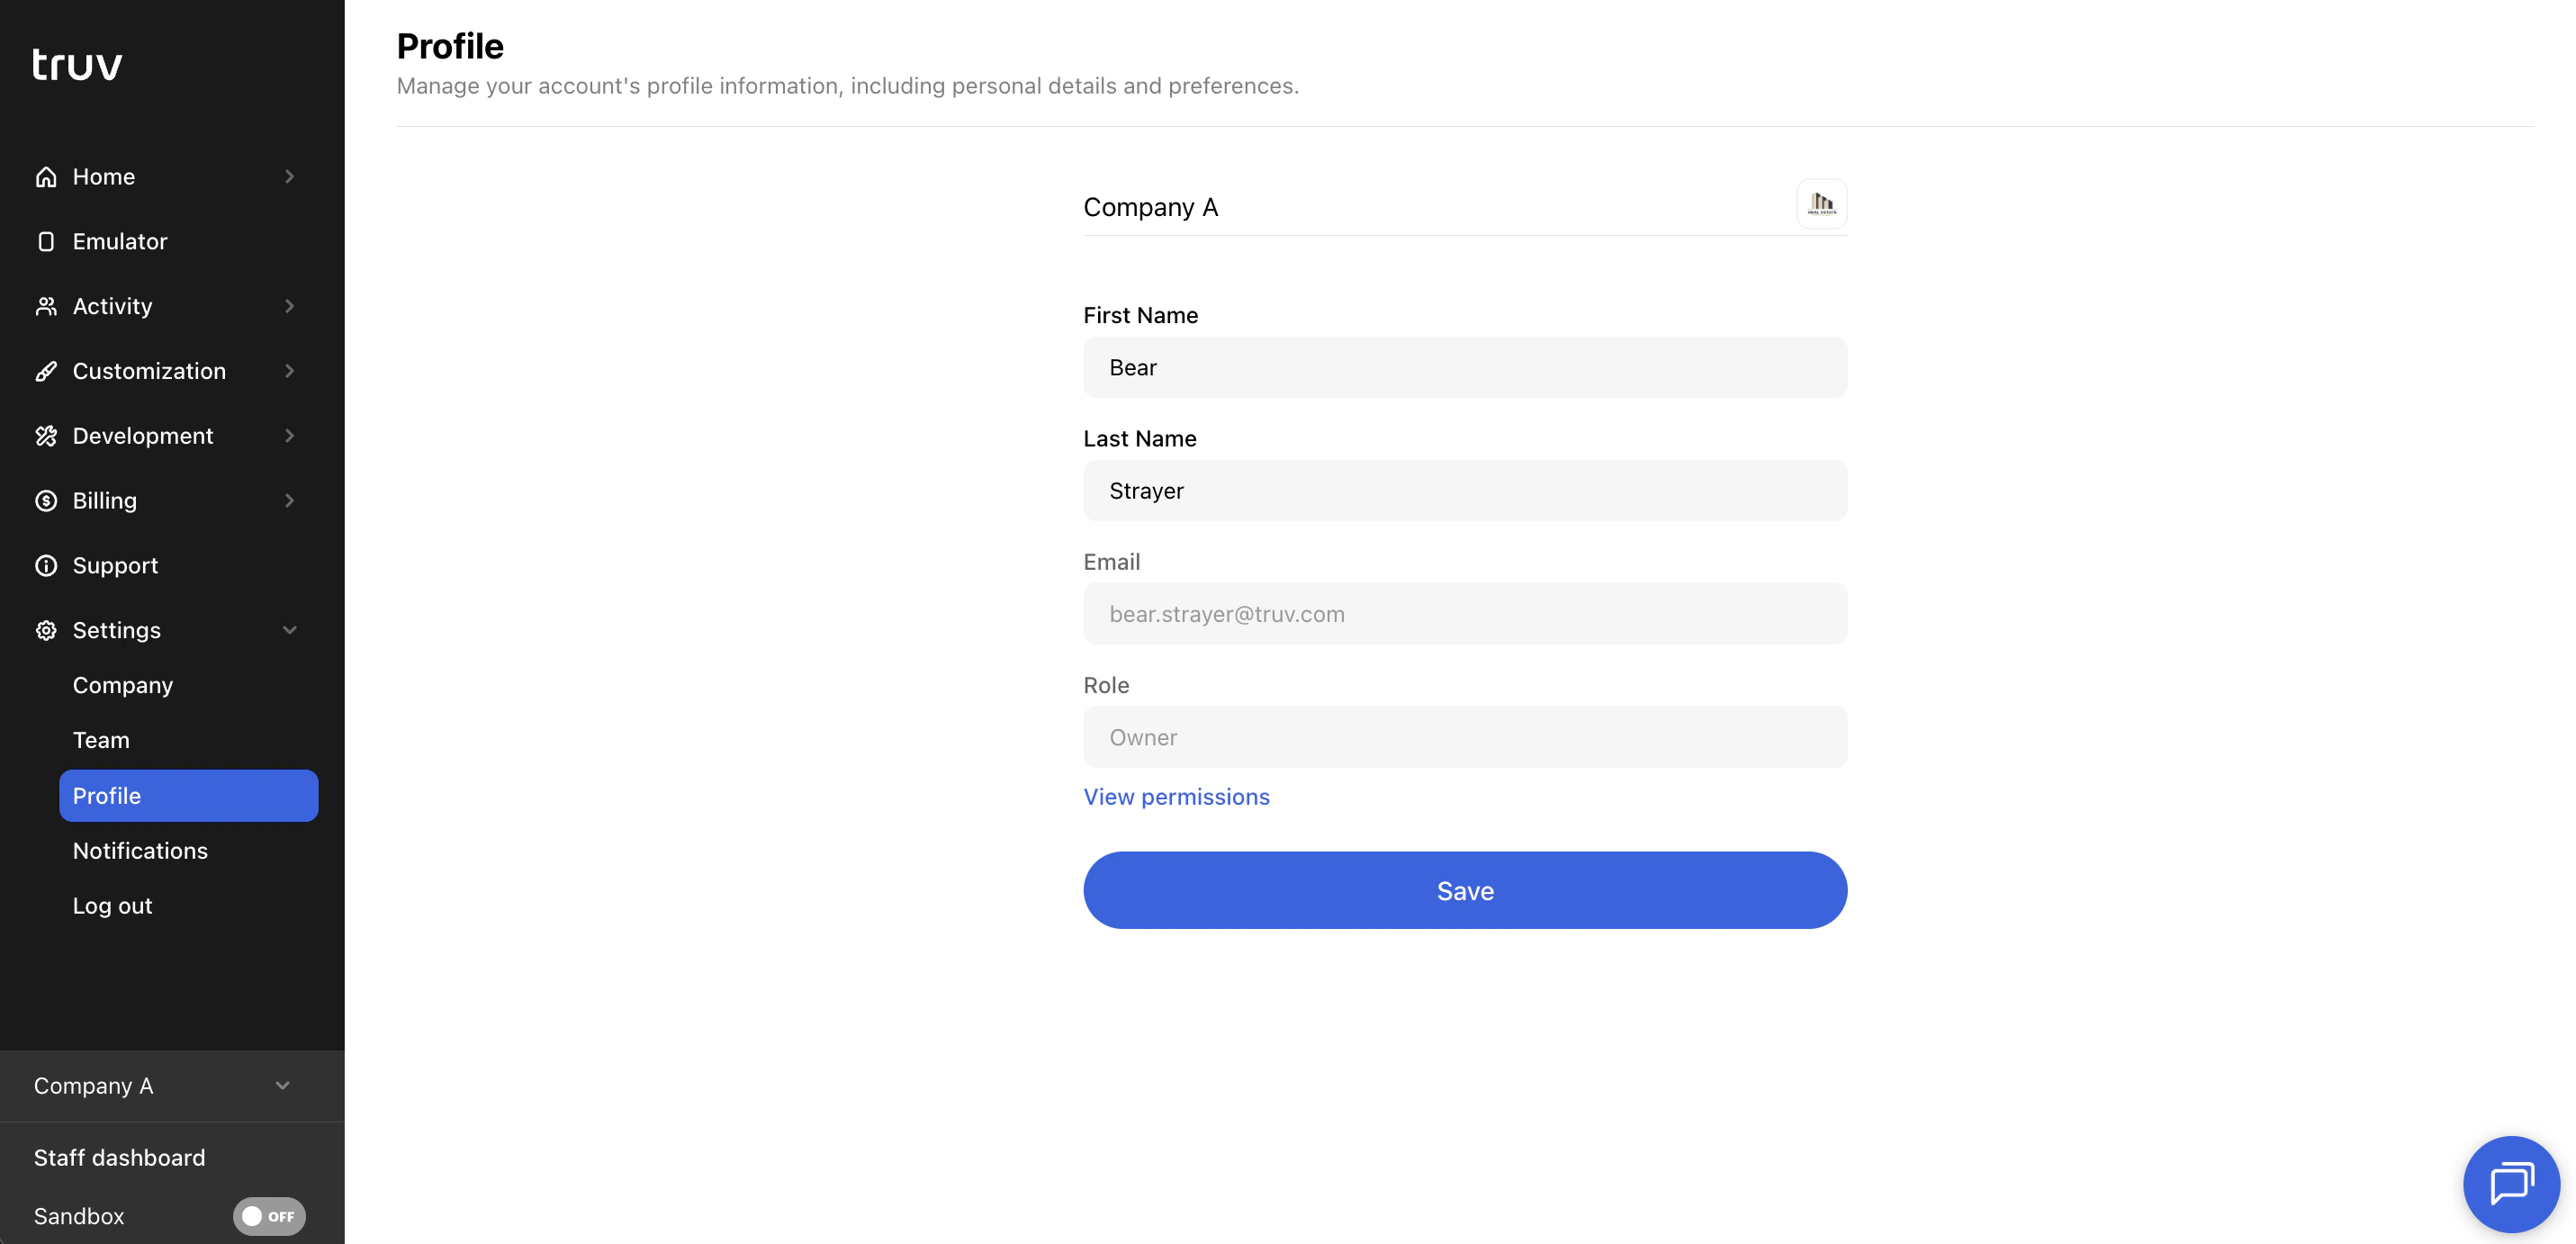
Click Save to apply any changes.
Notifications
The Notifications tab controls which notifications you receive and how.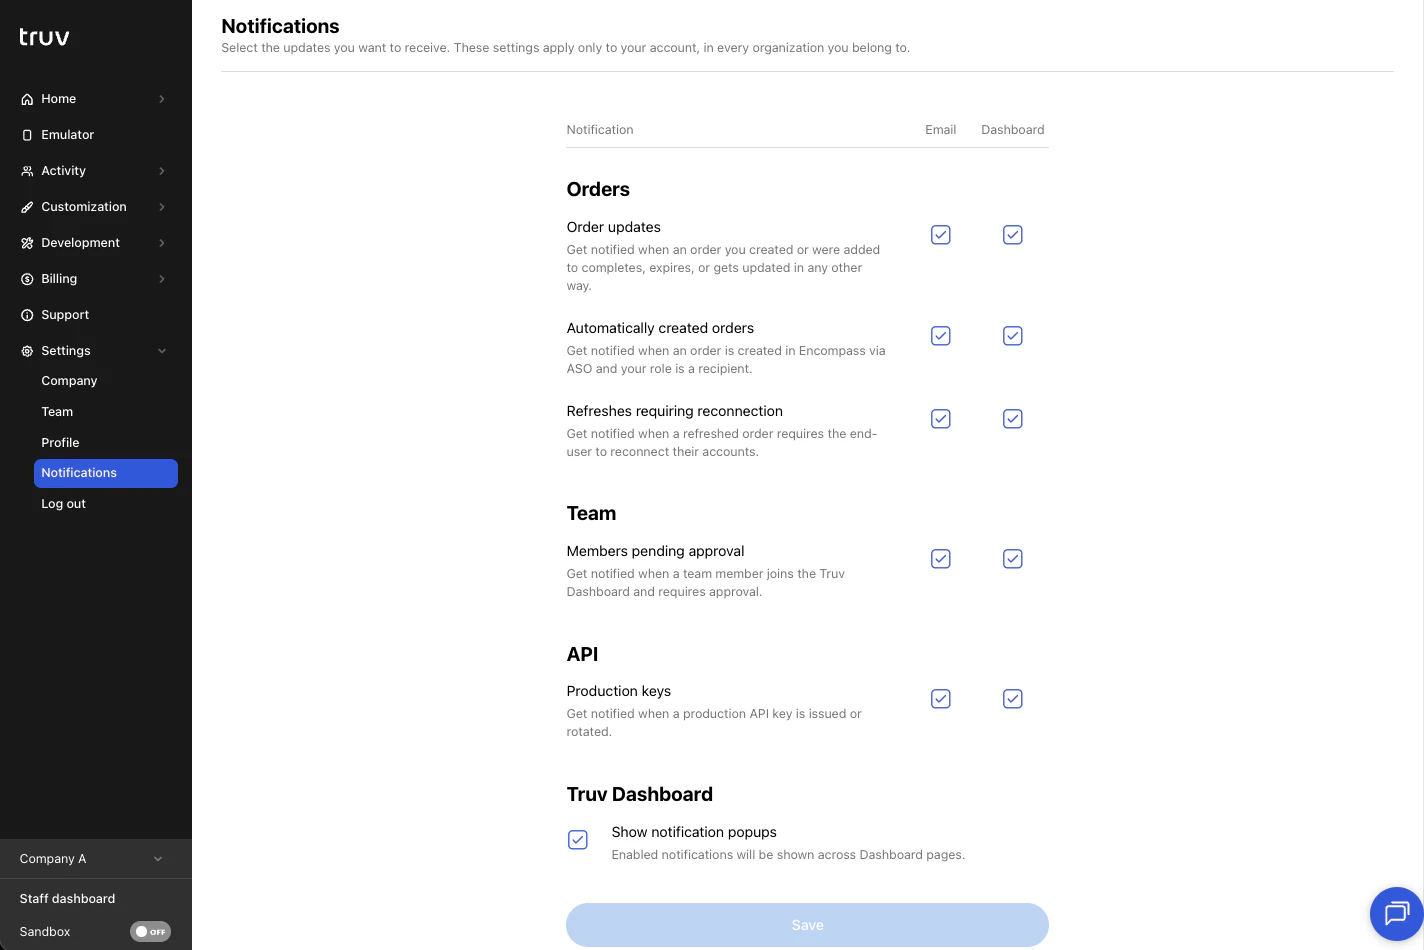
Delivery methods
For each notification type, toggle delivery via Email or Dashboard (in-app bell), or both. Deselecting a method stops delivery through that channel. If enabled, a notification feed tile will briefly appear on the Dashboard when a notification is triggered. This can be disabled by unchecking Show notification popups.Notification types
Next steps
SSO Configuration
Set up single sign-on for your team
Multi-Tenancy
Manage multiple companies